Your First Findings
Your first run has completed and findings are arriving. In this step you'll learn to read the list, see what the AI did to each finding and why, and pick the handful that deserve your first hour.
Every issue QuantAssure tracks — vulnerabilities, device compliance, configuration drift, access-review outcomes — is a finding, in one list, AI-triaged.
The Findings List
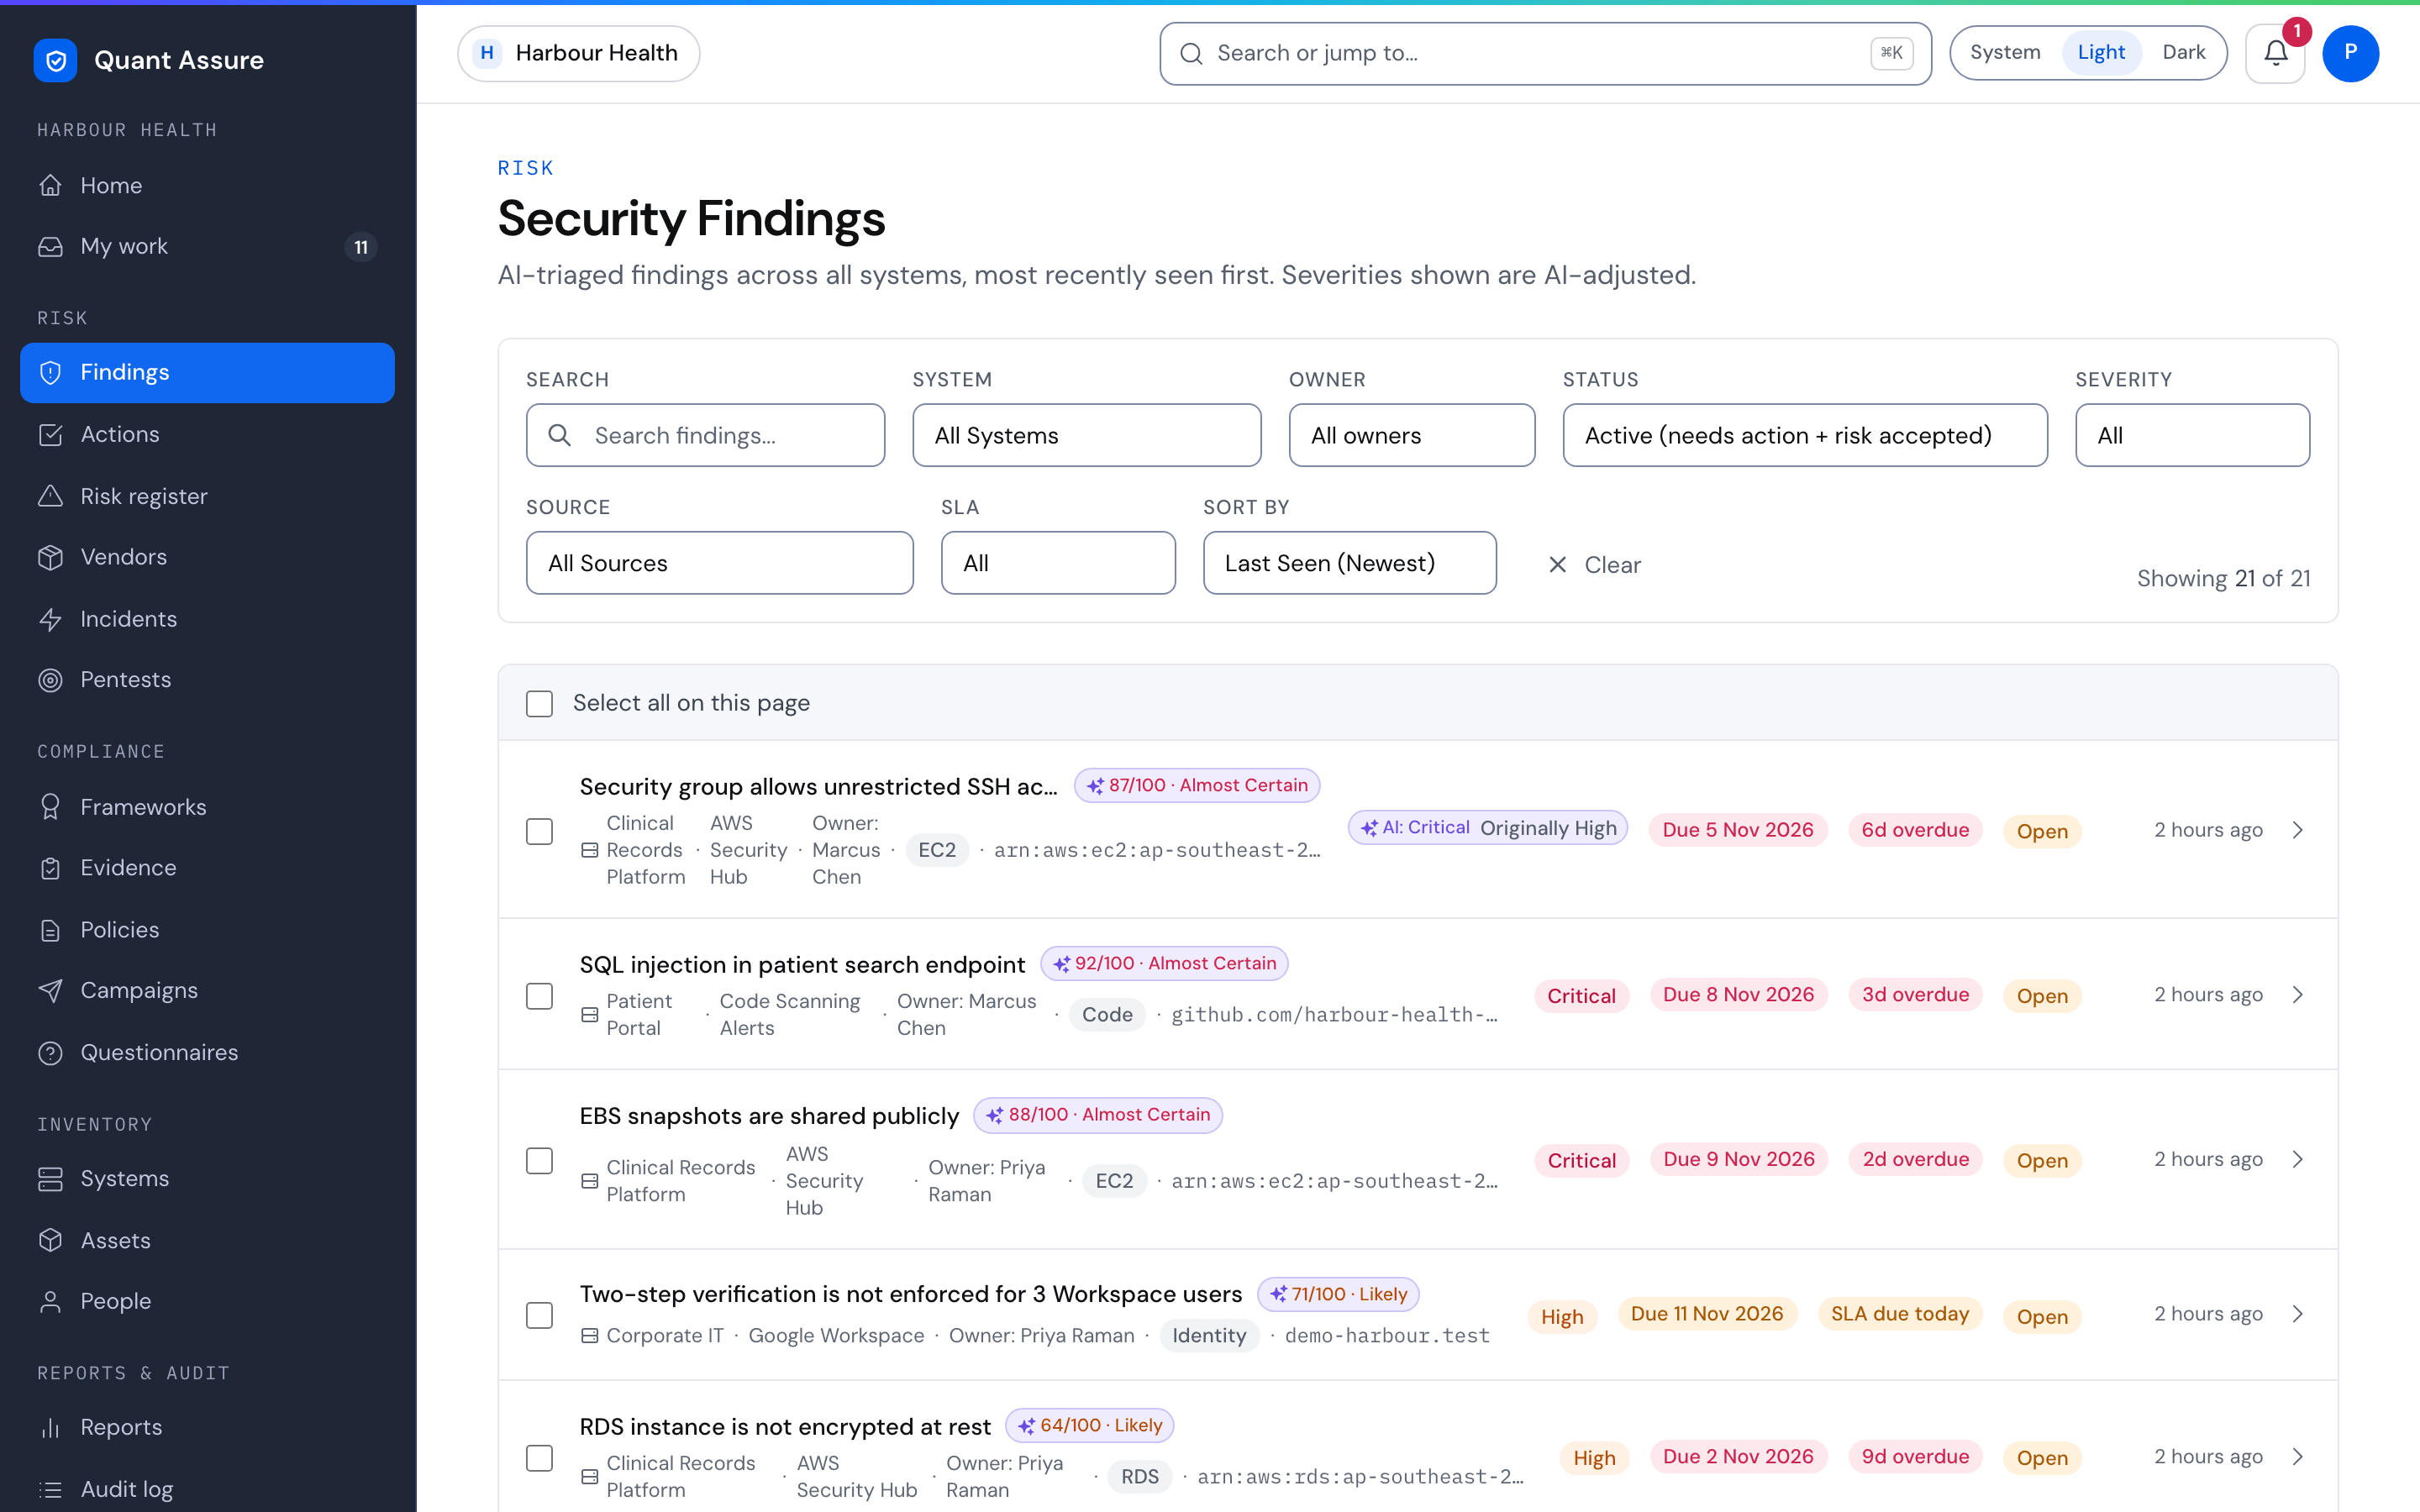
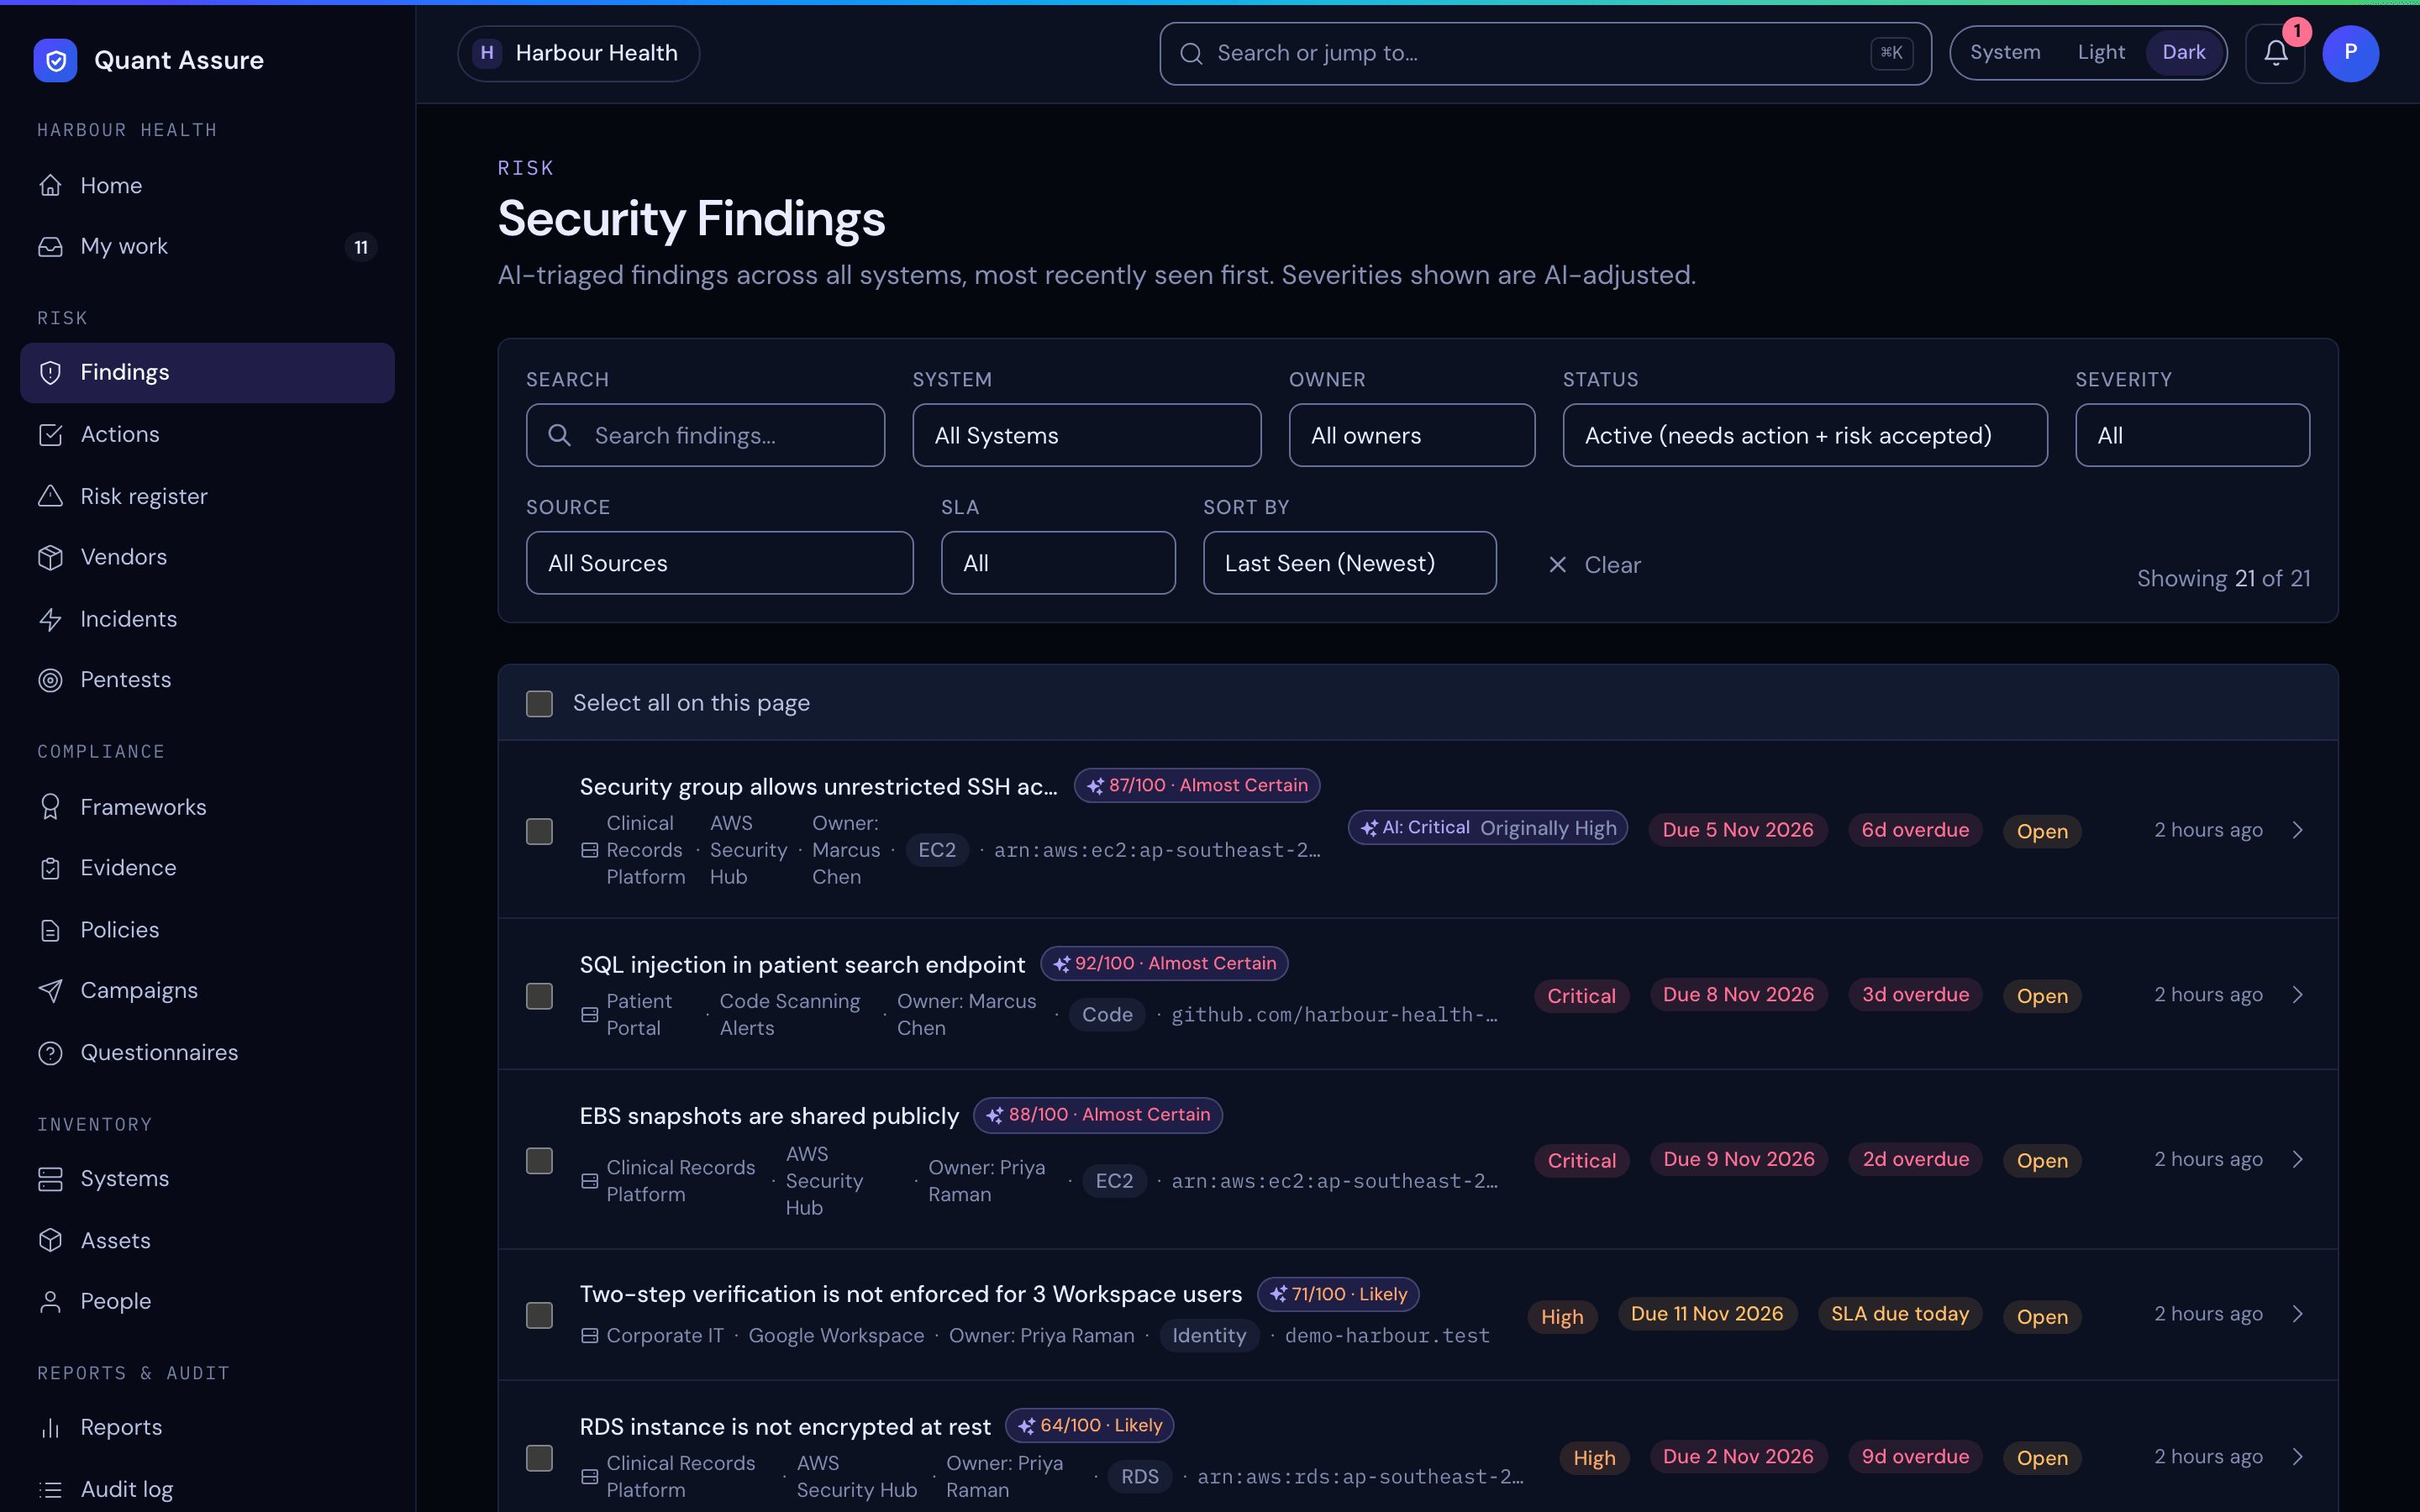
Severity filters, severity sorting and counts all use each finding's effective severity: a person's override if there is one, otherwise the AI-adjusted severity, otherwise the scanner's severity until the finding is triaged. Filter by system, owner, status, severity, source SLA state or Remediation PR state; search across titles and descriptions. The owner filter has Assigned to me and Unassigned, so you can find findings nobody owns.
The list opens sorted by Last Seen (Newest). The other sort options are Last Seen (Oldest), Severity (Highest), Severity (Lowest), Likelihood (Highest), Likelihood (Lowest), SLA Due (Soonest), First Seen (Newest) and First Seen (Oldest). Each row shows its system, source and owner (or No owner). The Source filter uses the same names, such as Dependabot Alerts, AWS Security Hub, Mosyle MDM, Google Workspace, Policy Analyser, GitHub (connector) and AWS (connector).
How statuses are counted
Every count in QuantAssure (dashboard, reports, SLA figures, digests and the MCP tools) groups finding statuses the same way:
- Needs action: New, Open and In progress. These are the "open" findings: they count towards your posture score, run SLA clocks and appear in attention lists.
- Accepted risk: findings under a risk acceptance. Shown as their own figure, neither open nor closed.
- Closed: Resolved, Remediated, Dismissed and Source removed.
The Status filter opens on Active (needs action + risk accepted). Choose Closed or All to see the rest. Needs action (new, open, in progress) shows those three statuses together, and the single-status options are New only, Open only, In progress only, Risk accepted, Resolved, Remediated, Dismissed and Source removed. The status badge, the filter option and the finding page all read Risk accepted.
Severity and likelihood
The AI gives every finding two separate answers:
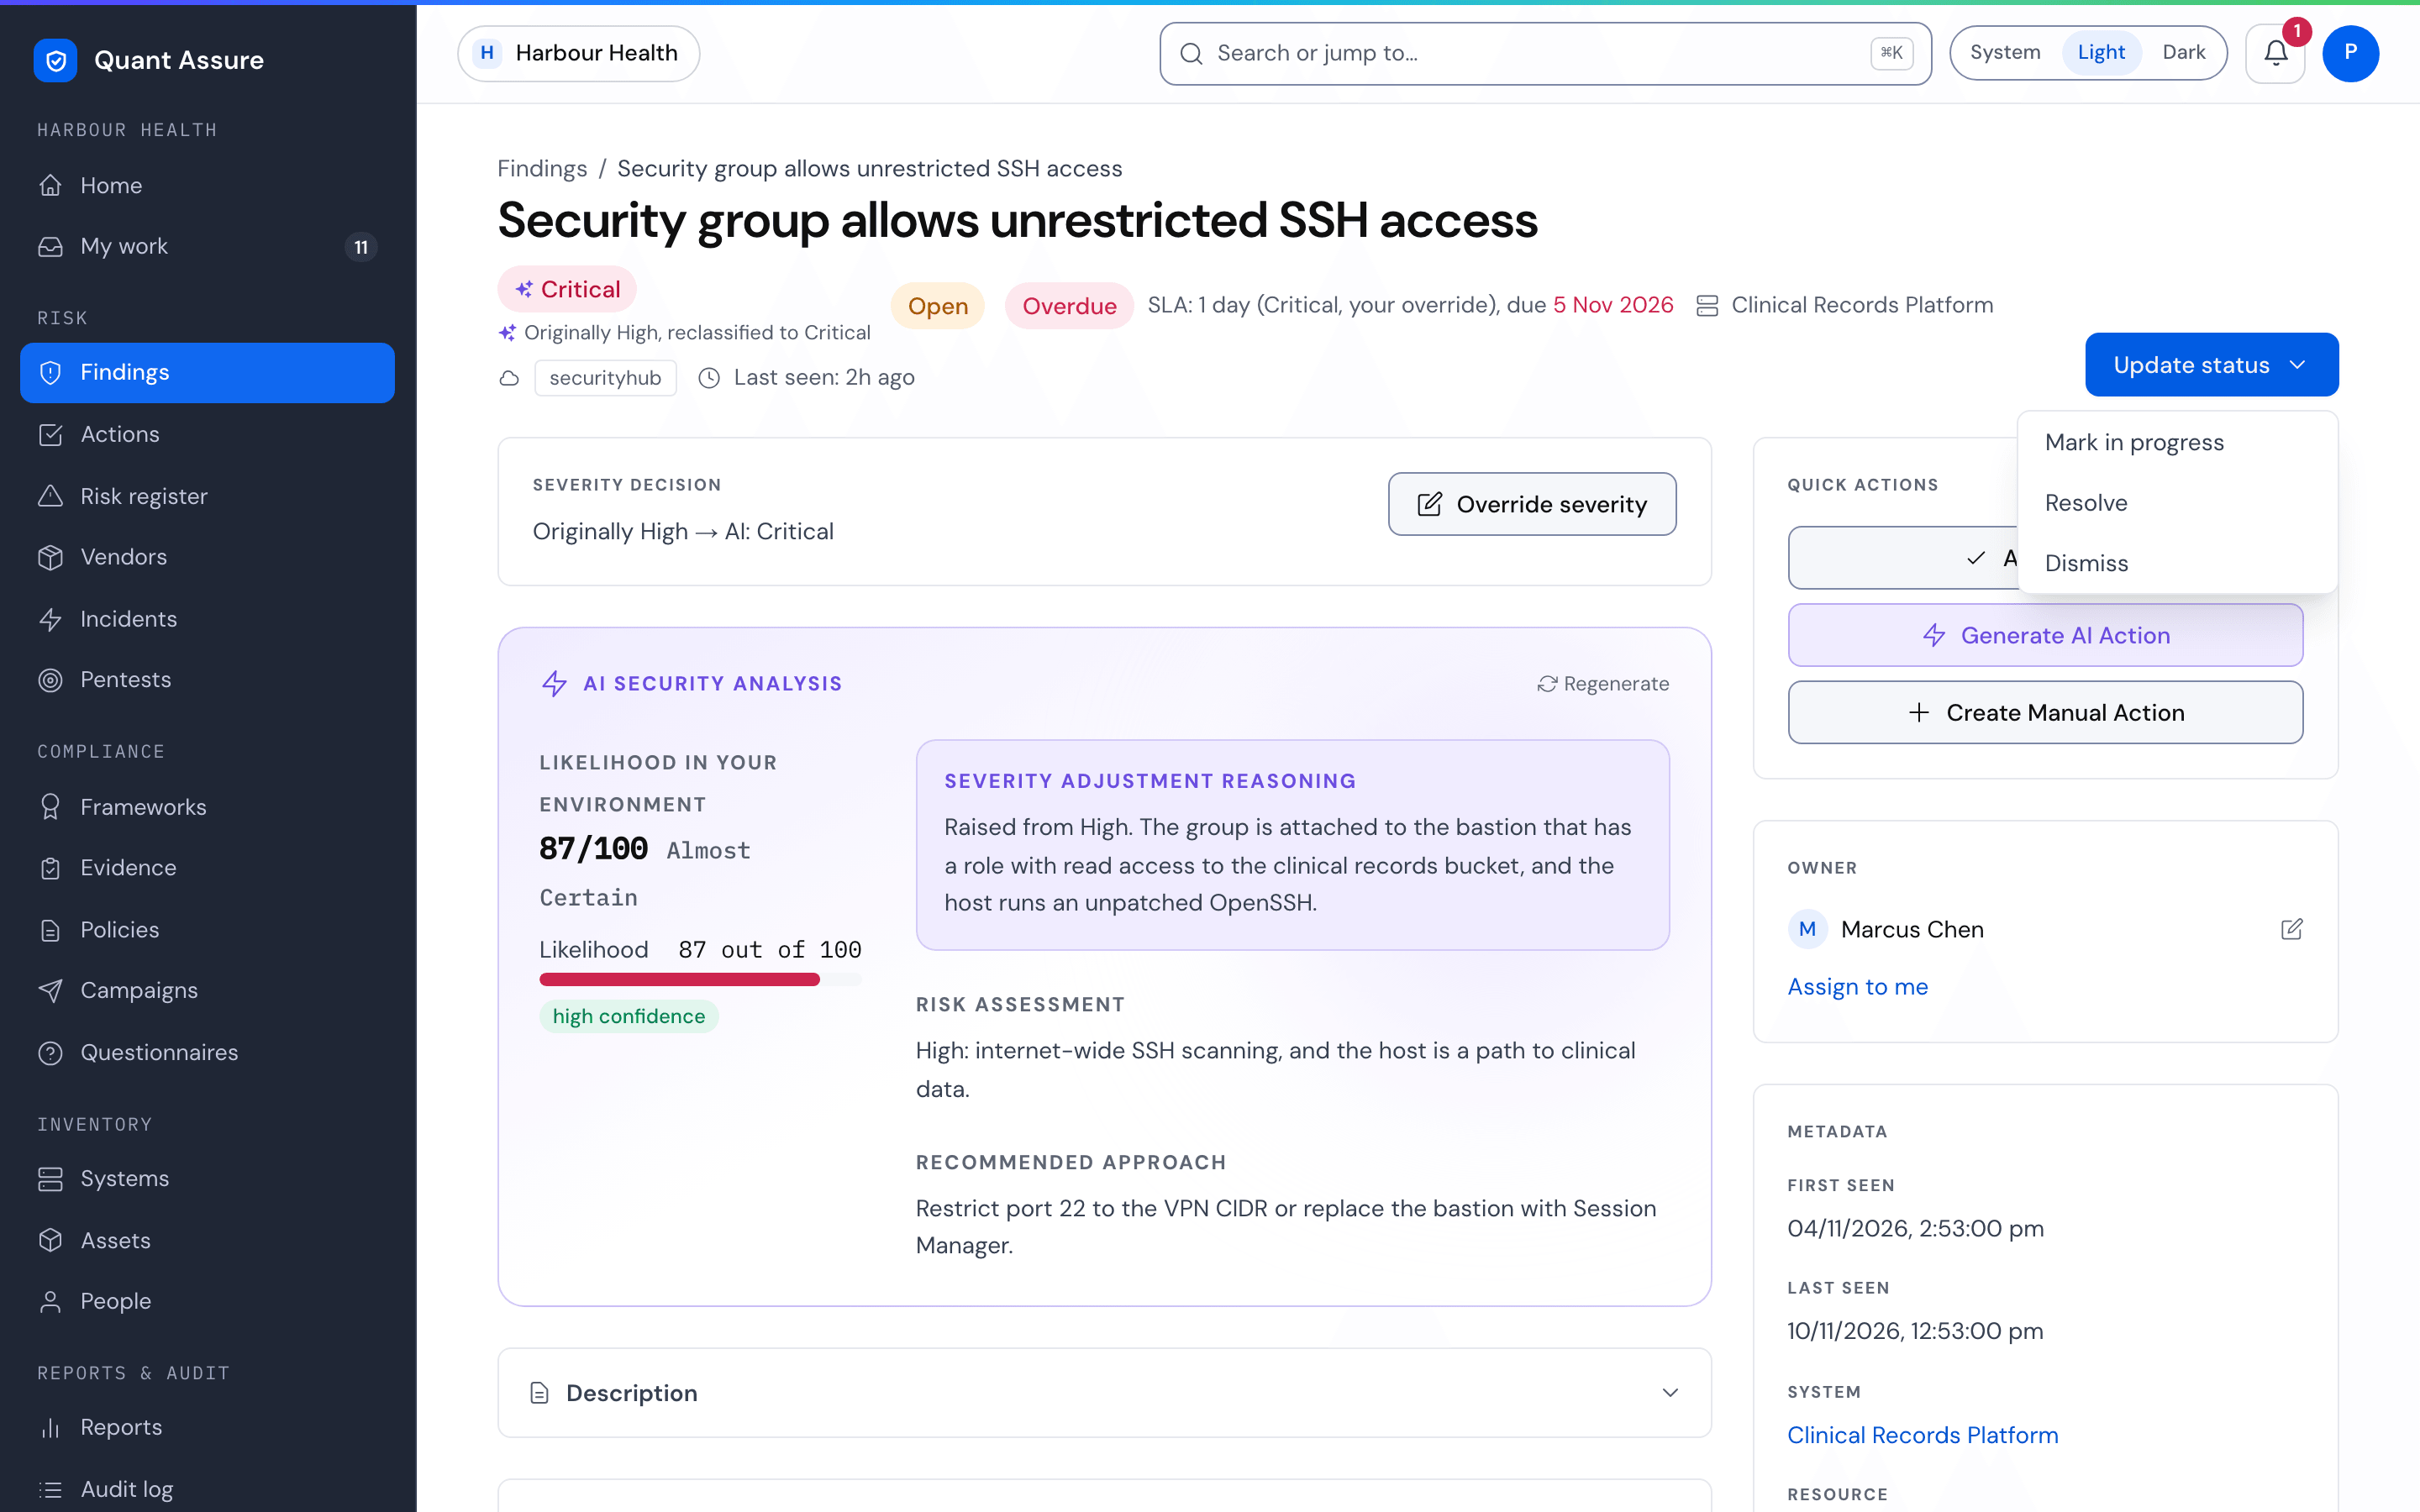
- AI-adjusted severity (Critical, High, Medium, Low) — how serious the finding is, on the same scale as your scanner and your compliance frameworks. It sets the SLA: a finding reclassified from Critical to Low gets the Low timeline. The AI's reasoning is kept as audit evidence.
- Likelihood in your environment (0–100) — how likely it is that the finding is exploited here, given its exposure, whether the affected code actually runs, known exploitation and the controls you have in place. It ranks findings within a severity; it does not change the SLA.
Likelihood uses the same five-step scale as the risk register, which follows ISO 31000 (AS ISO 31000): Almost Certain (80 and over), Likely (60 to 79), Possible (40 to 59), Unlikely (20 to 39) and Rare (under 20). Severity and likelihood use different words on purpose, so a Low-severity finding can never read as "High". Findings triaged before this scale was introduced keep their old score until they are next analysed.
A dash (—) means "not scored". Likelihood is only given when the analysis has evidence about exploitation. Compliance gaps, such as a control your policies do not cover, are not scored: they come from reading your policies against a framework, not from how a system is exposed, and the gap's severity already says how pressing it is. The finding page and printed reports show a dash in place of a score or band, exports leave the cell empty, and the findings list shows no Likelihood chip. When you sort by Likelihood, unscored findings come after scored ones of the same severity. A dash is never a low score.
Three badges matter most:
-
AI: Lowwith Originally Critical beside it — the AI reclassified this finding. The note shows the original scanner severity; nothing is hidden. -
Overridden: High— a person set the severity, replacing the AI's. See Overriding the AI's Severity. - Likelihood chip (0–100, with its band) — how likely exploitation is in your environment, for fine-grained prioritisation within a severity. A dash means the finding was not scored.
Your first hour: start from Home's Needs attention list, which ranks by effective severity and then likelihood. On the findings list, choose Severity (Highest) (or Likelihood (Highest), which also ranks by severity first) from the sort menu to get a similar order. Anything still rated critical or high after AI triage is a genuine priority, not scanner noise.
SLA due dates
Each open finding shows the date its SLA falls due, as a pill reading, for example, Due 8 May 2027. The pill is grey while the finding is on track, amber when it is at risk and red once it is overdue, and the words "On track", "At risk" or "Overdue" are there for screen readers. An at-risk or overdue finding also gets a chip such as SLA 2d left or 3d overdue. The pill, the chip and the Overdue option in the SLA filter all describe the same state. The clock follows the finding's effective severity. Findings that are closed, or whose severity carries no SLA, show no date. Use SLA Due (Soonest) to sort by it, or the SLA filter (Overdue, At risk, On track) to narrow the list.
Acting on several findings at once
If you can edit findings, each row has a checkbox, and the bar above the list has Select all on this page. Selection is for the current page and clears when you change page or filter. Once you select findings the bar offers:
- Change status: pick a status and choose Apply. Marking findings resolved or dismissed, or ending a risk acceptance, asks for one reason, which is recorded on each of them. A finding that can't make the change (for example one whose source was removed) is skipped and listed.
- Accept risk: choose a reason, a duration and a justification once. They are recorded as a risk acceptance (see Risk Acceptance below) on every selected finding.
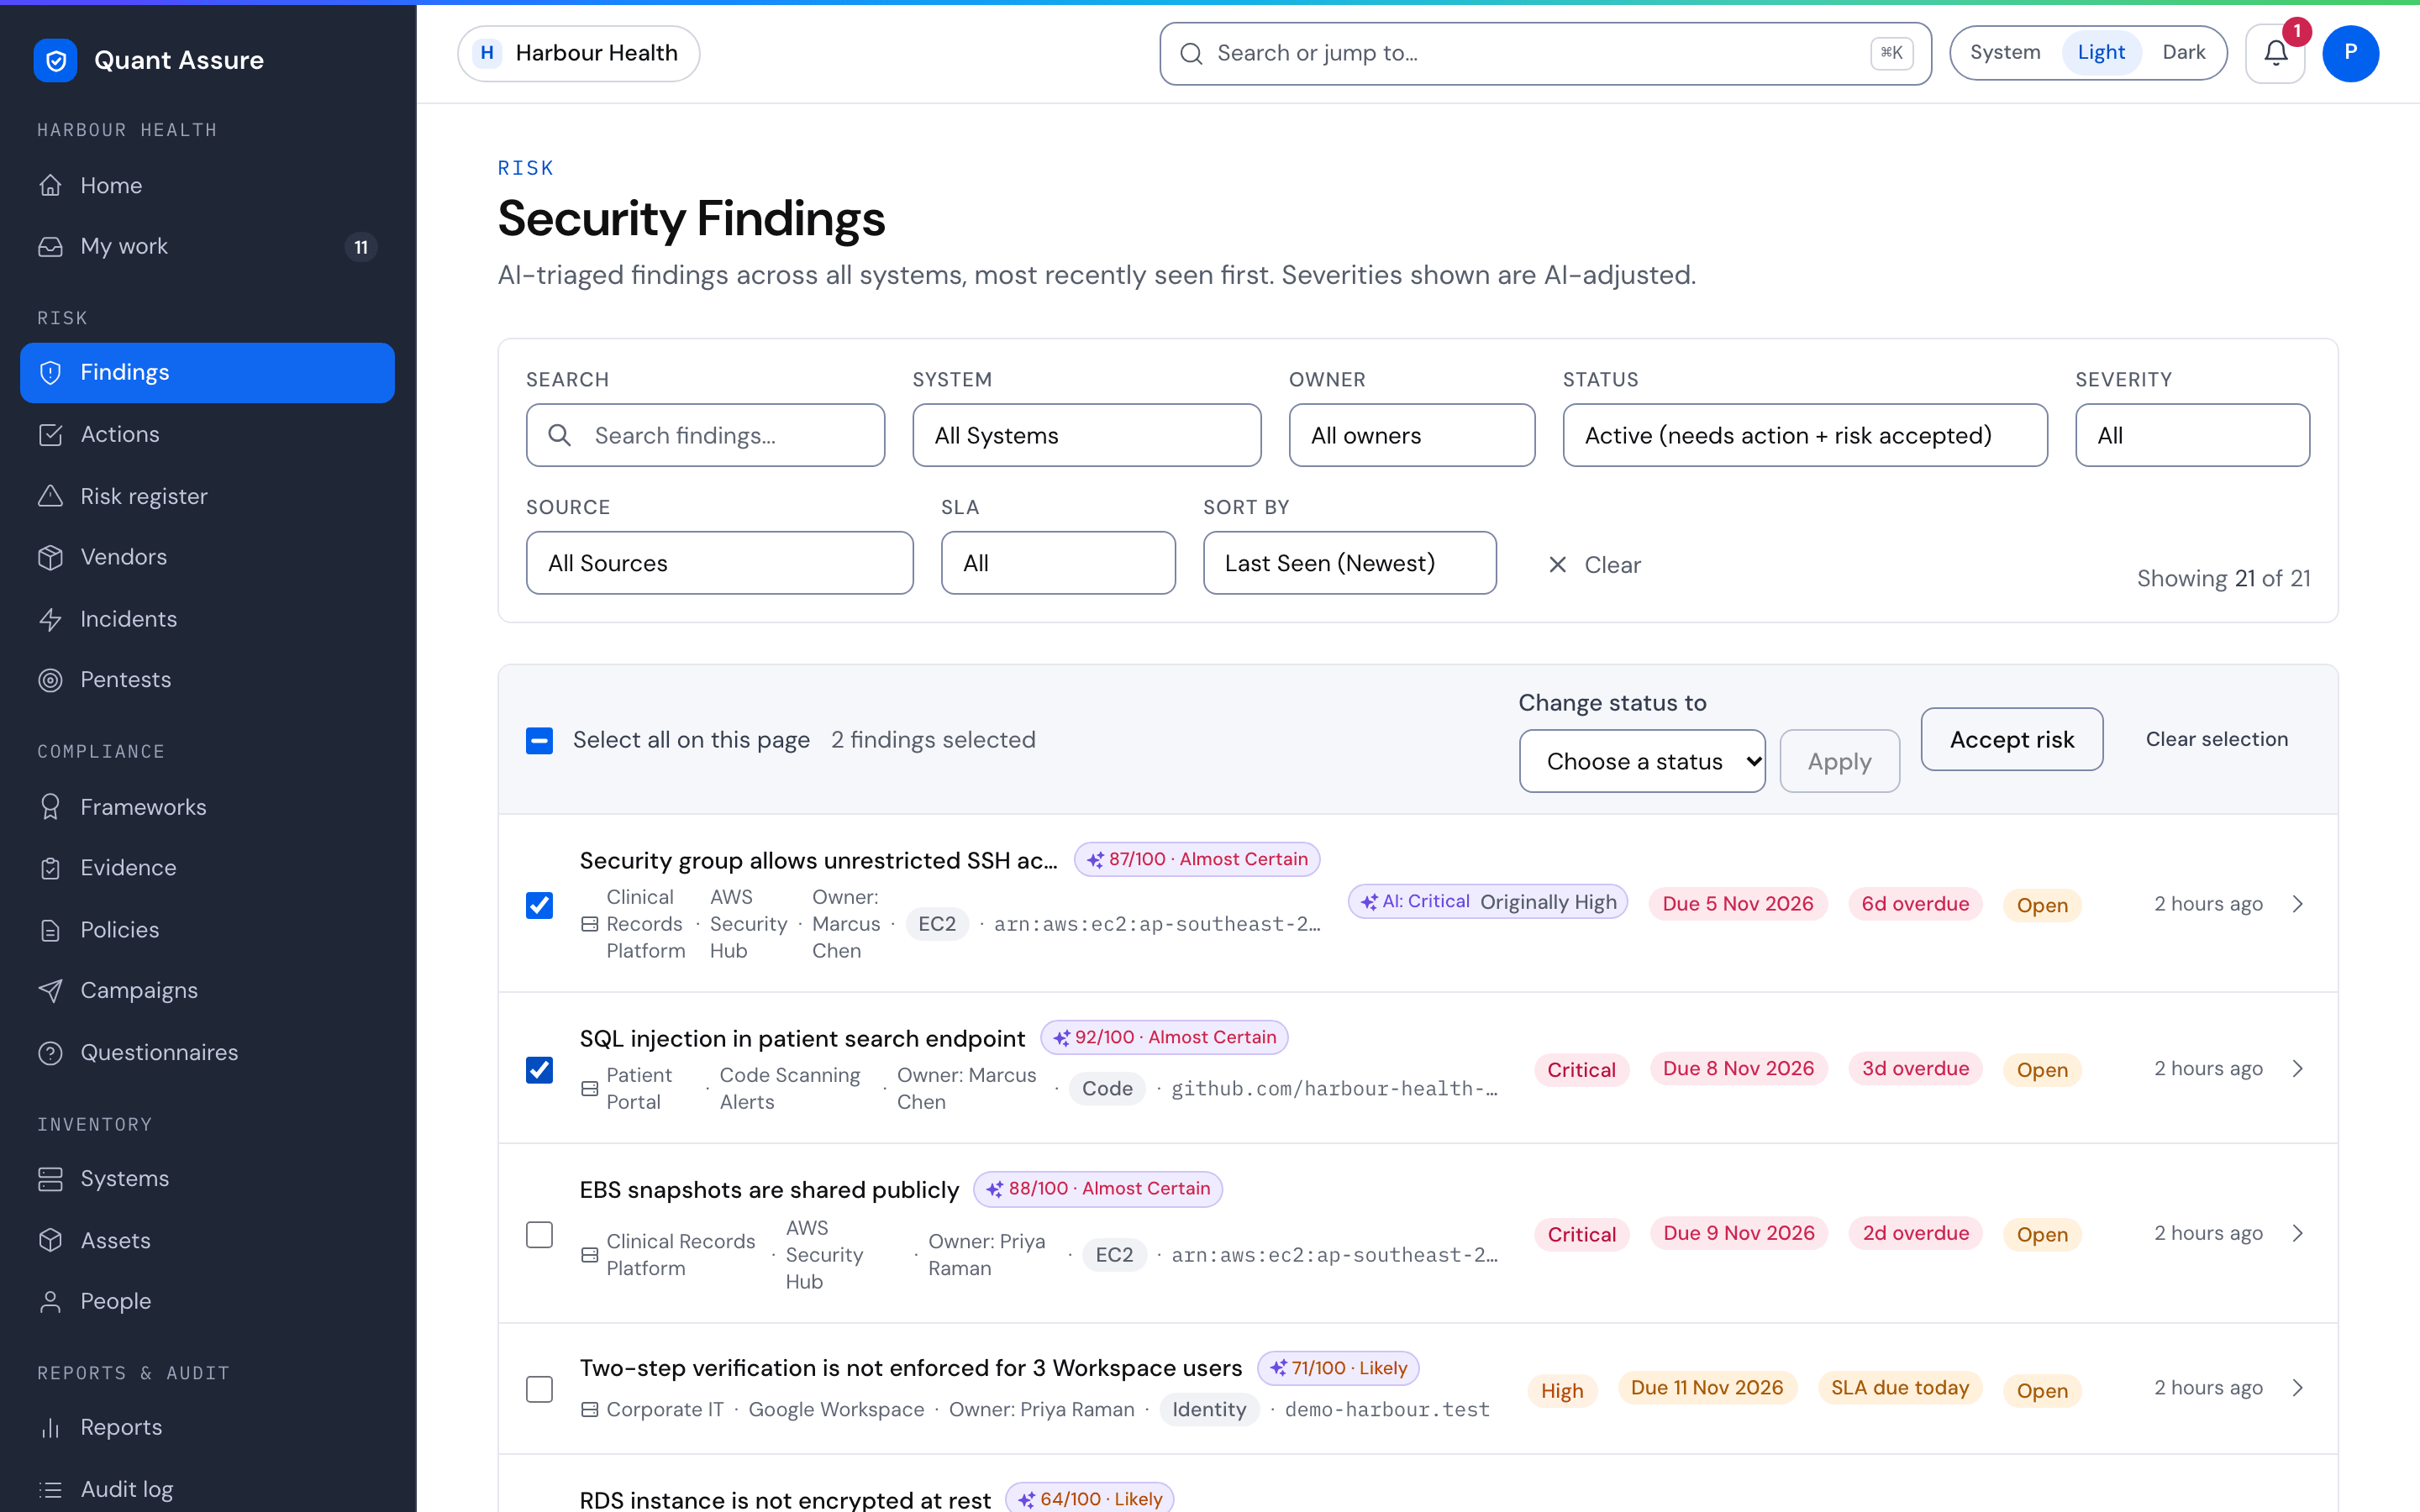
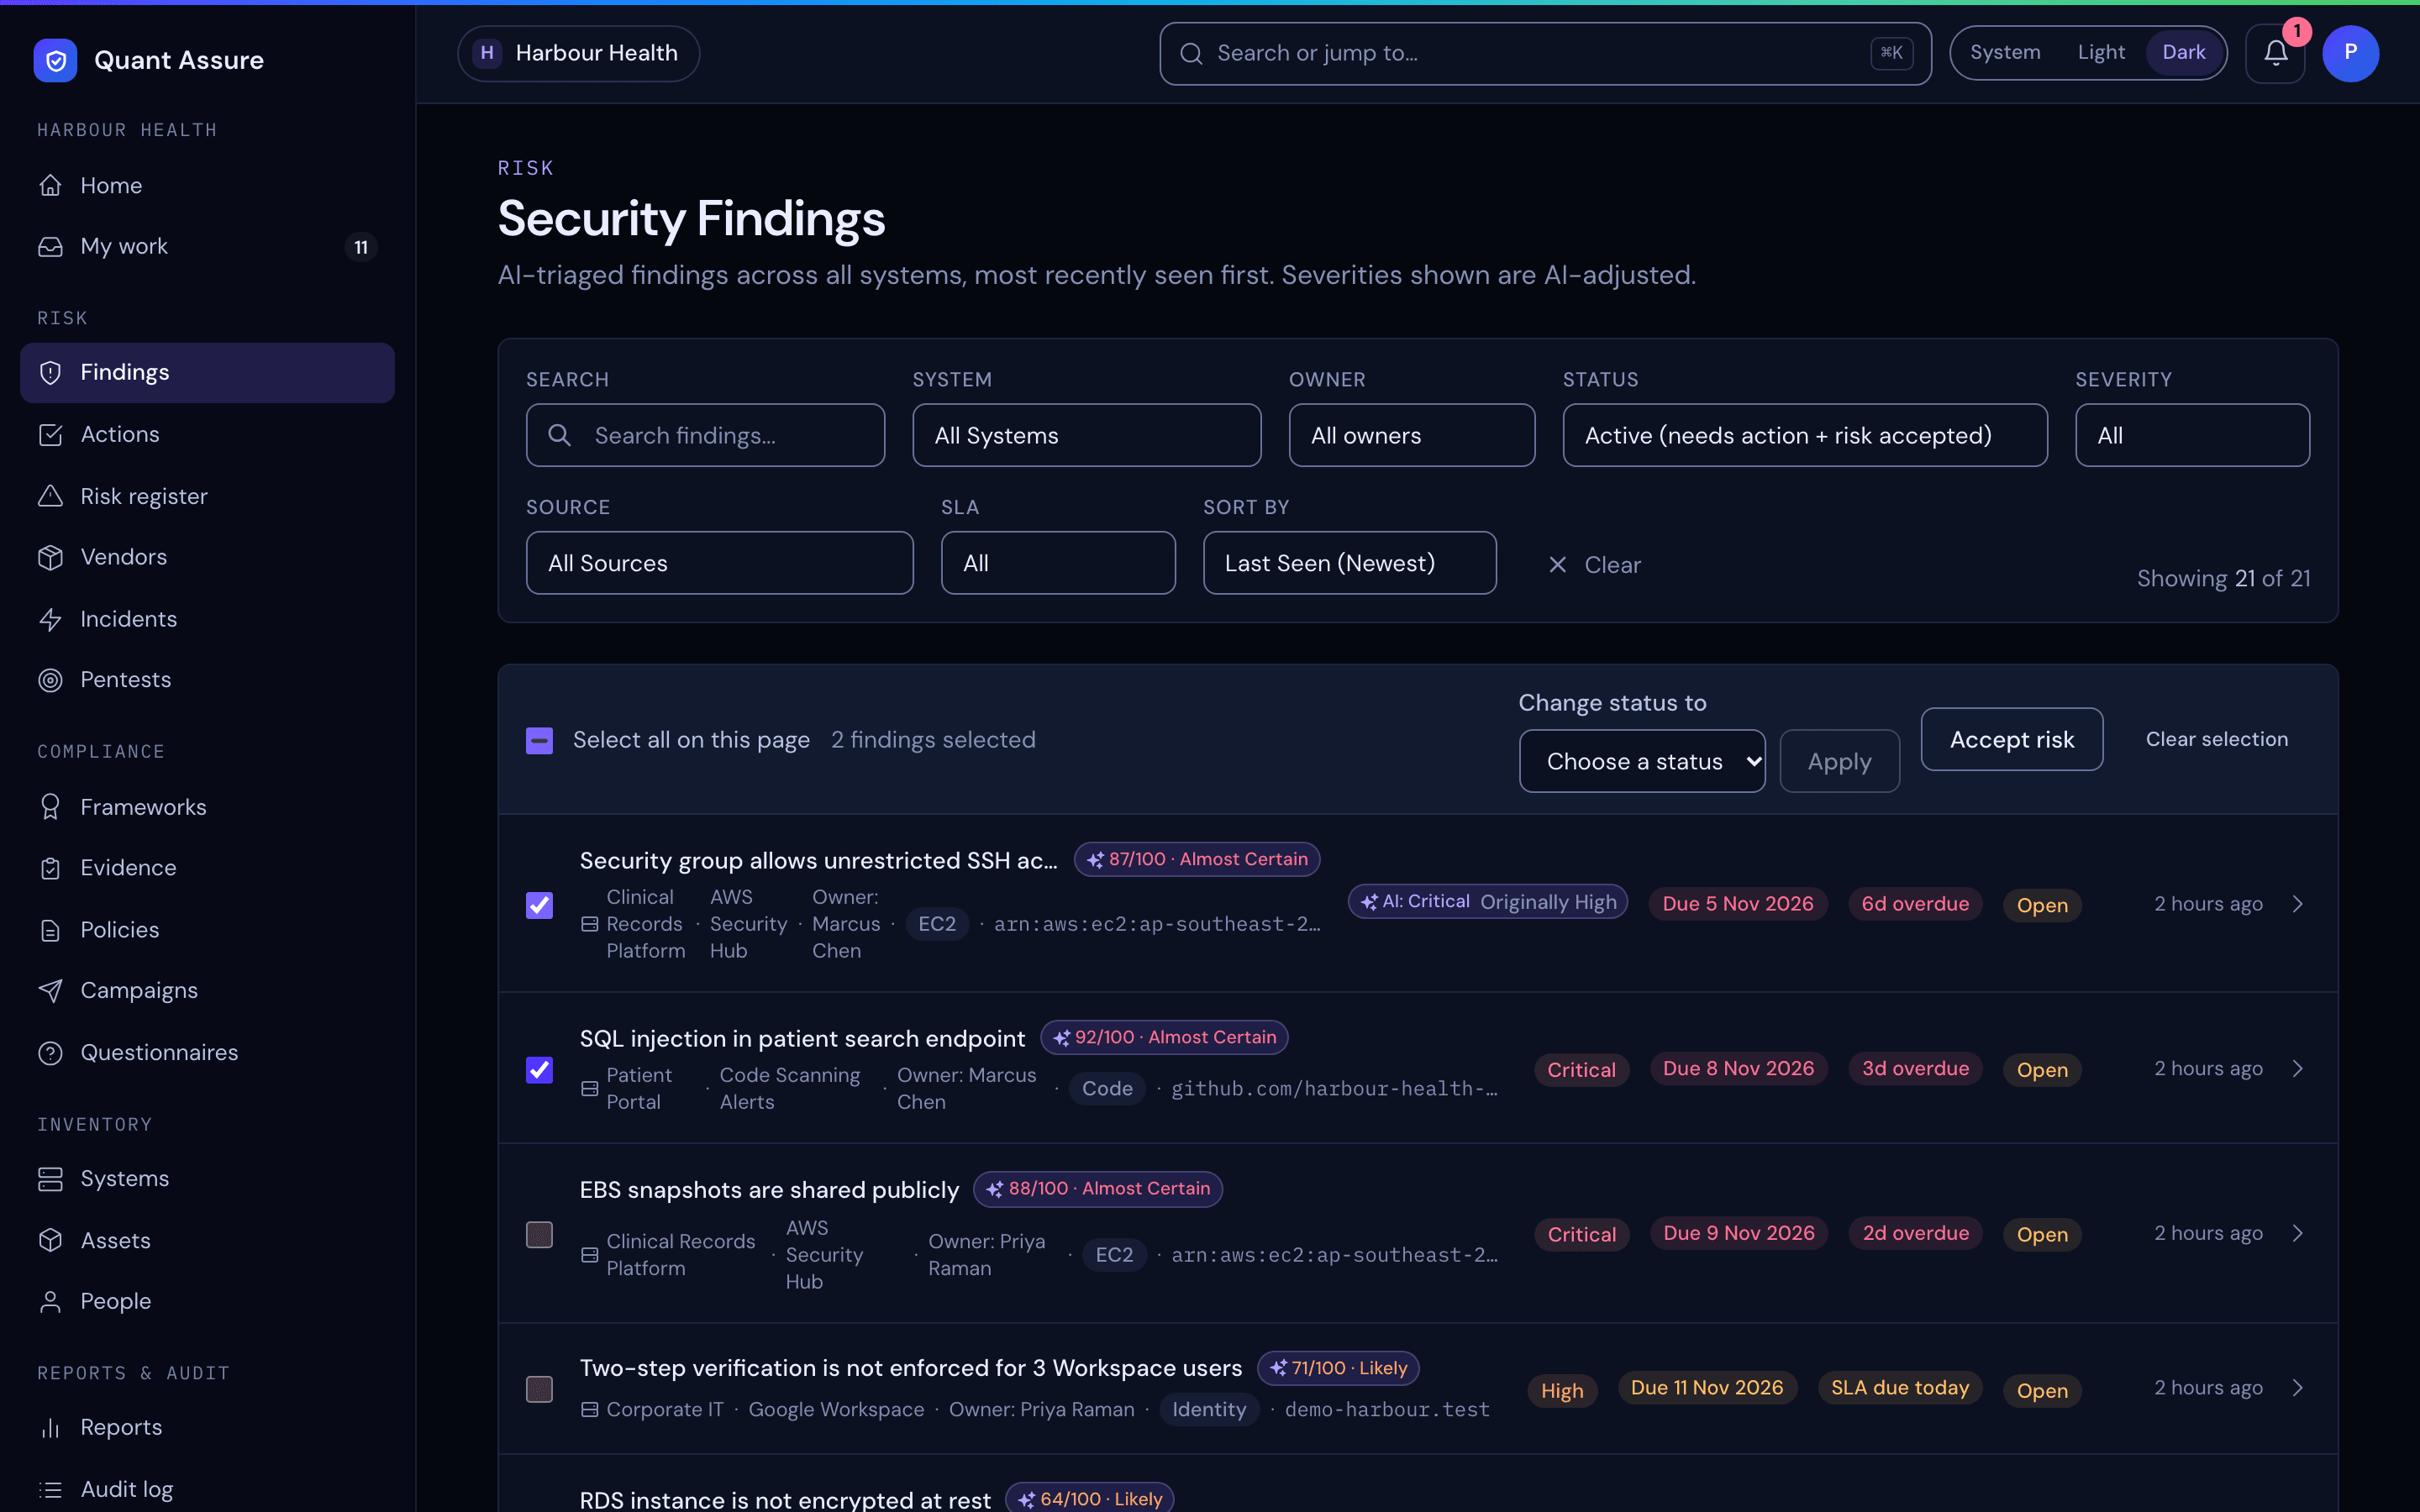
You can change up to 100 findings at a time. Each finding is checked and logged the same way as when you change it on its own page. If some can't be changed, the rest still are: the ones that failed stay selected, with the reason listed above the table. Locked findings can't be selected. Read-only members don't see the checkboxes. Assigning an owner to several findings at once isn't available yet; owners show on each row and can be filtered on.
Why Severities Change — and How to See the Reasoning
Raw scanner severities don't know your environment. QuantAssure's AI weighs each finding against context it has collected: is the vulnerable dependency actually reachable at runtime? Is the system production or a sandbox? Do compensating controls (SCPs, network policy, VPN-only access) already mitigate it? What do your security policies say?
In the findings list, click the reclassification badge on any finding to see the decision:
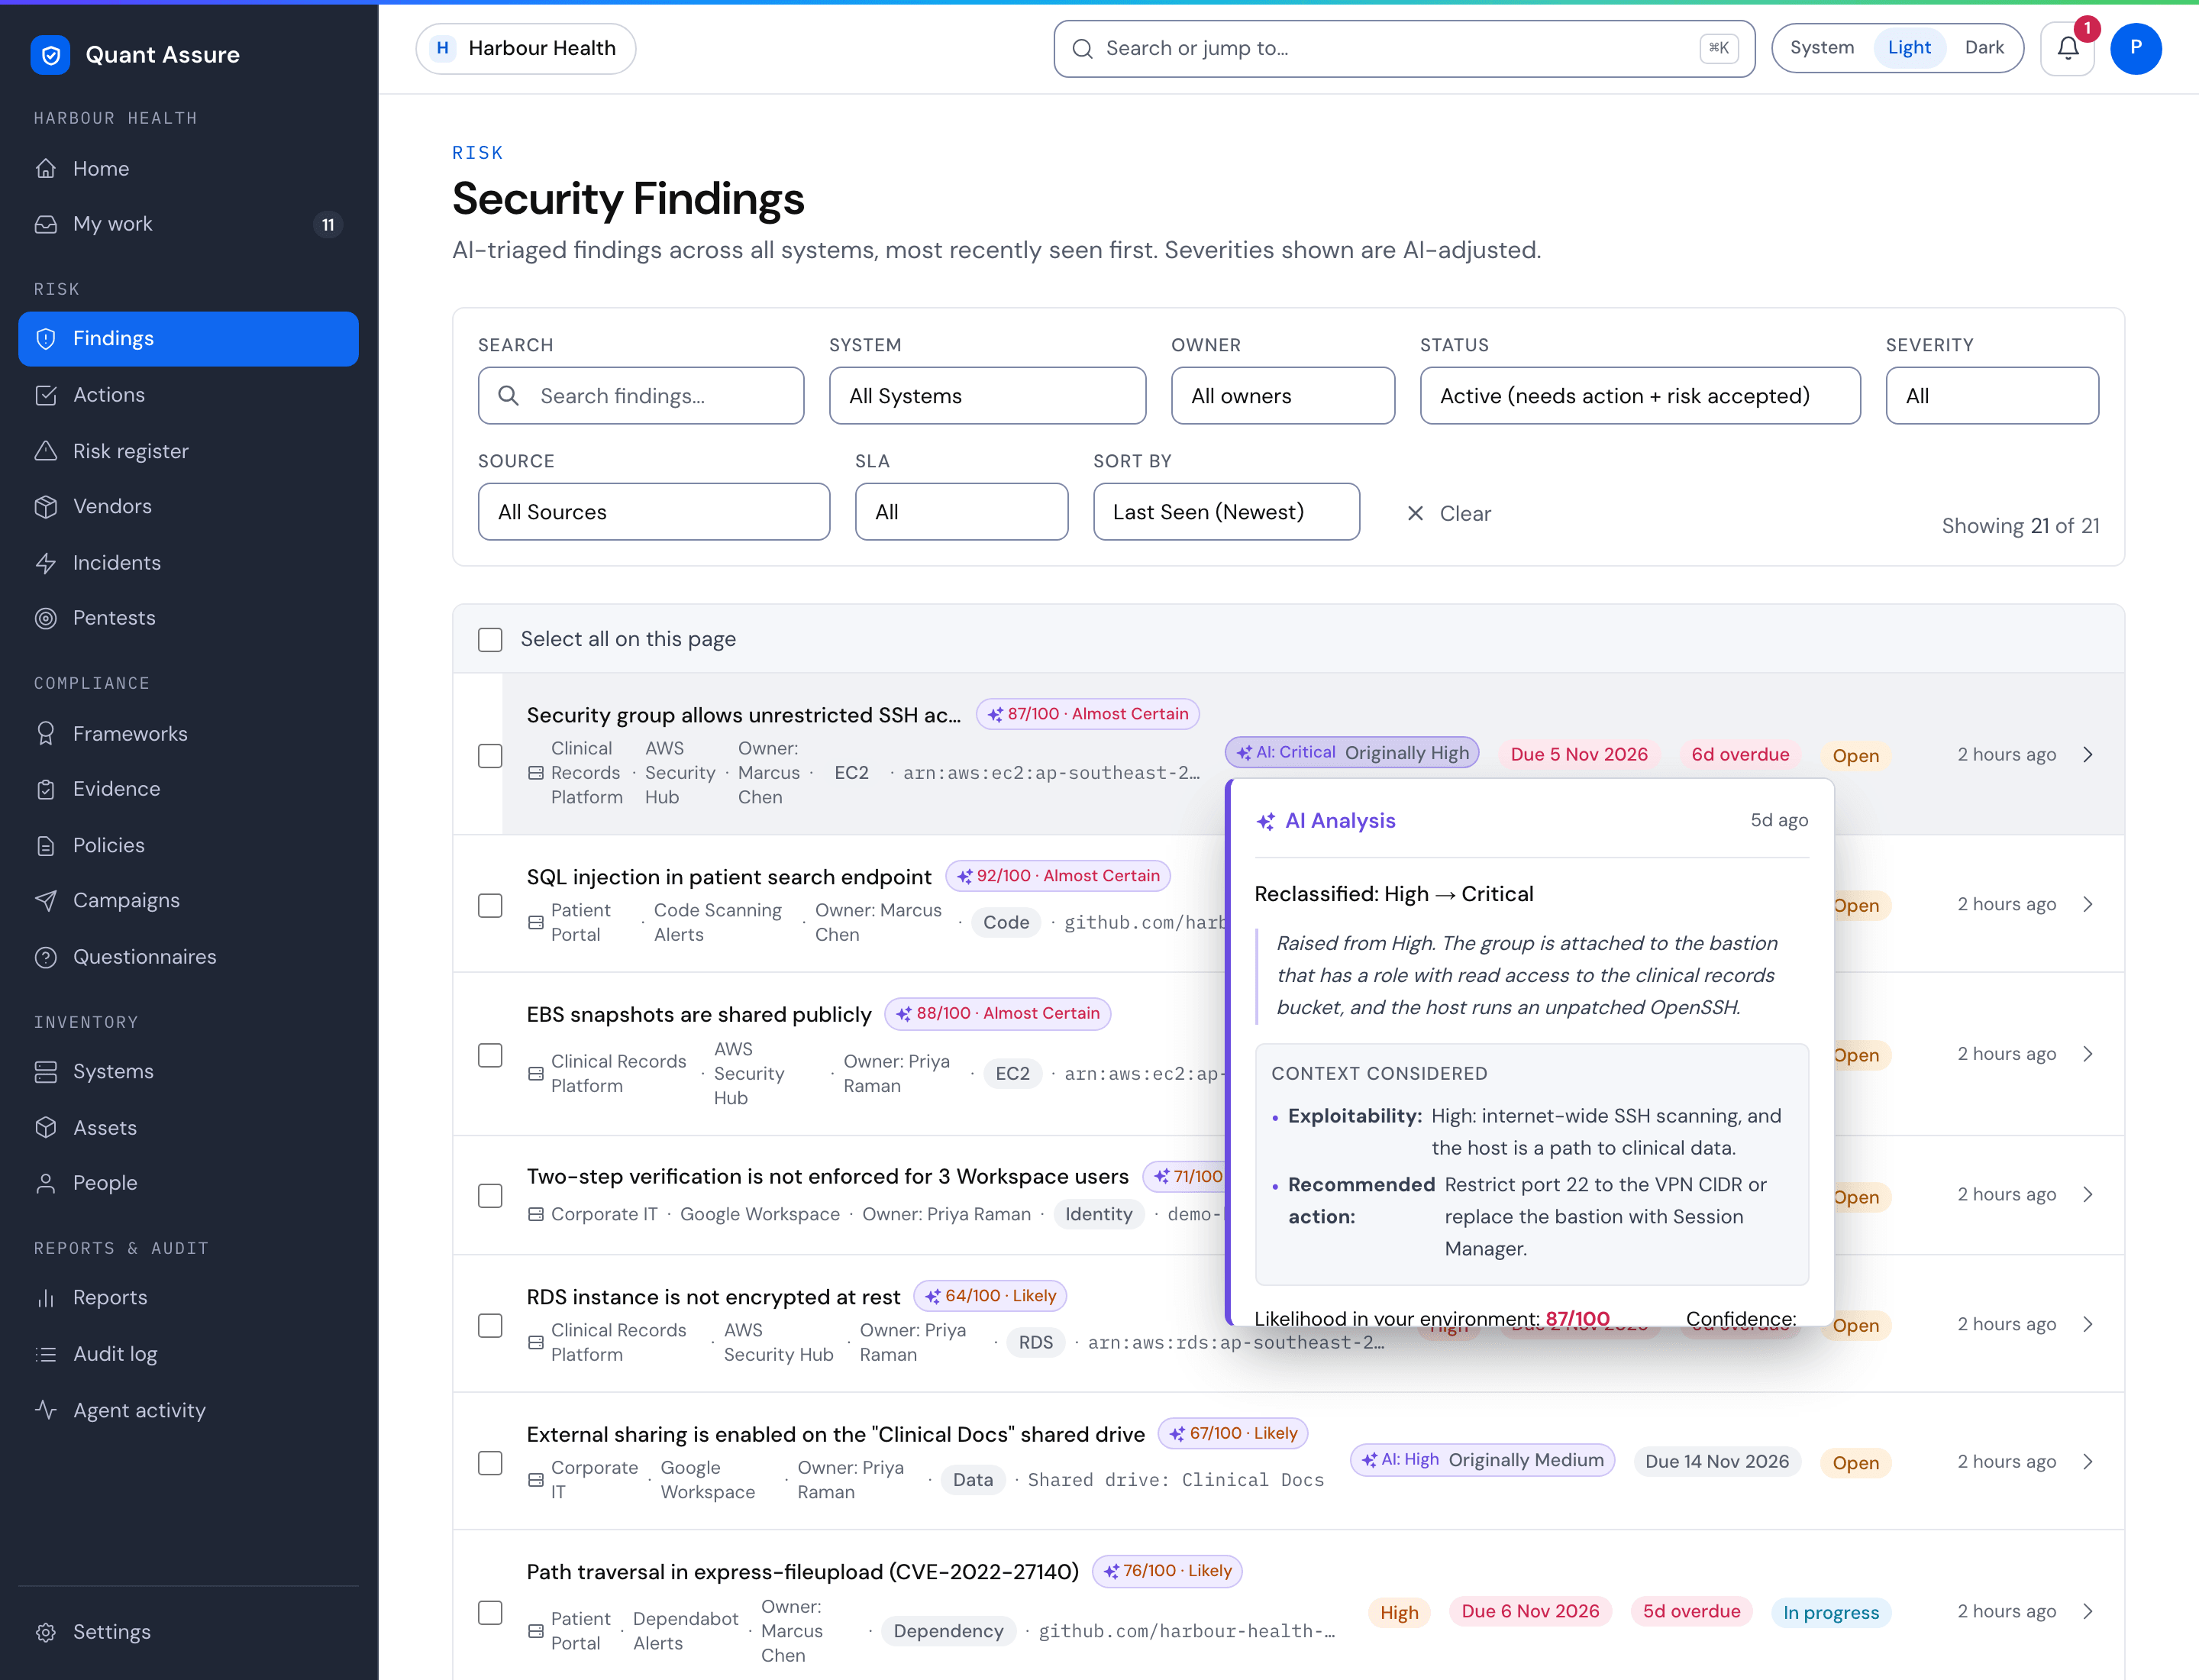
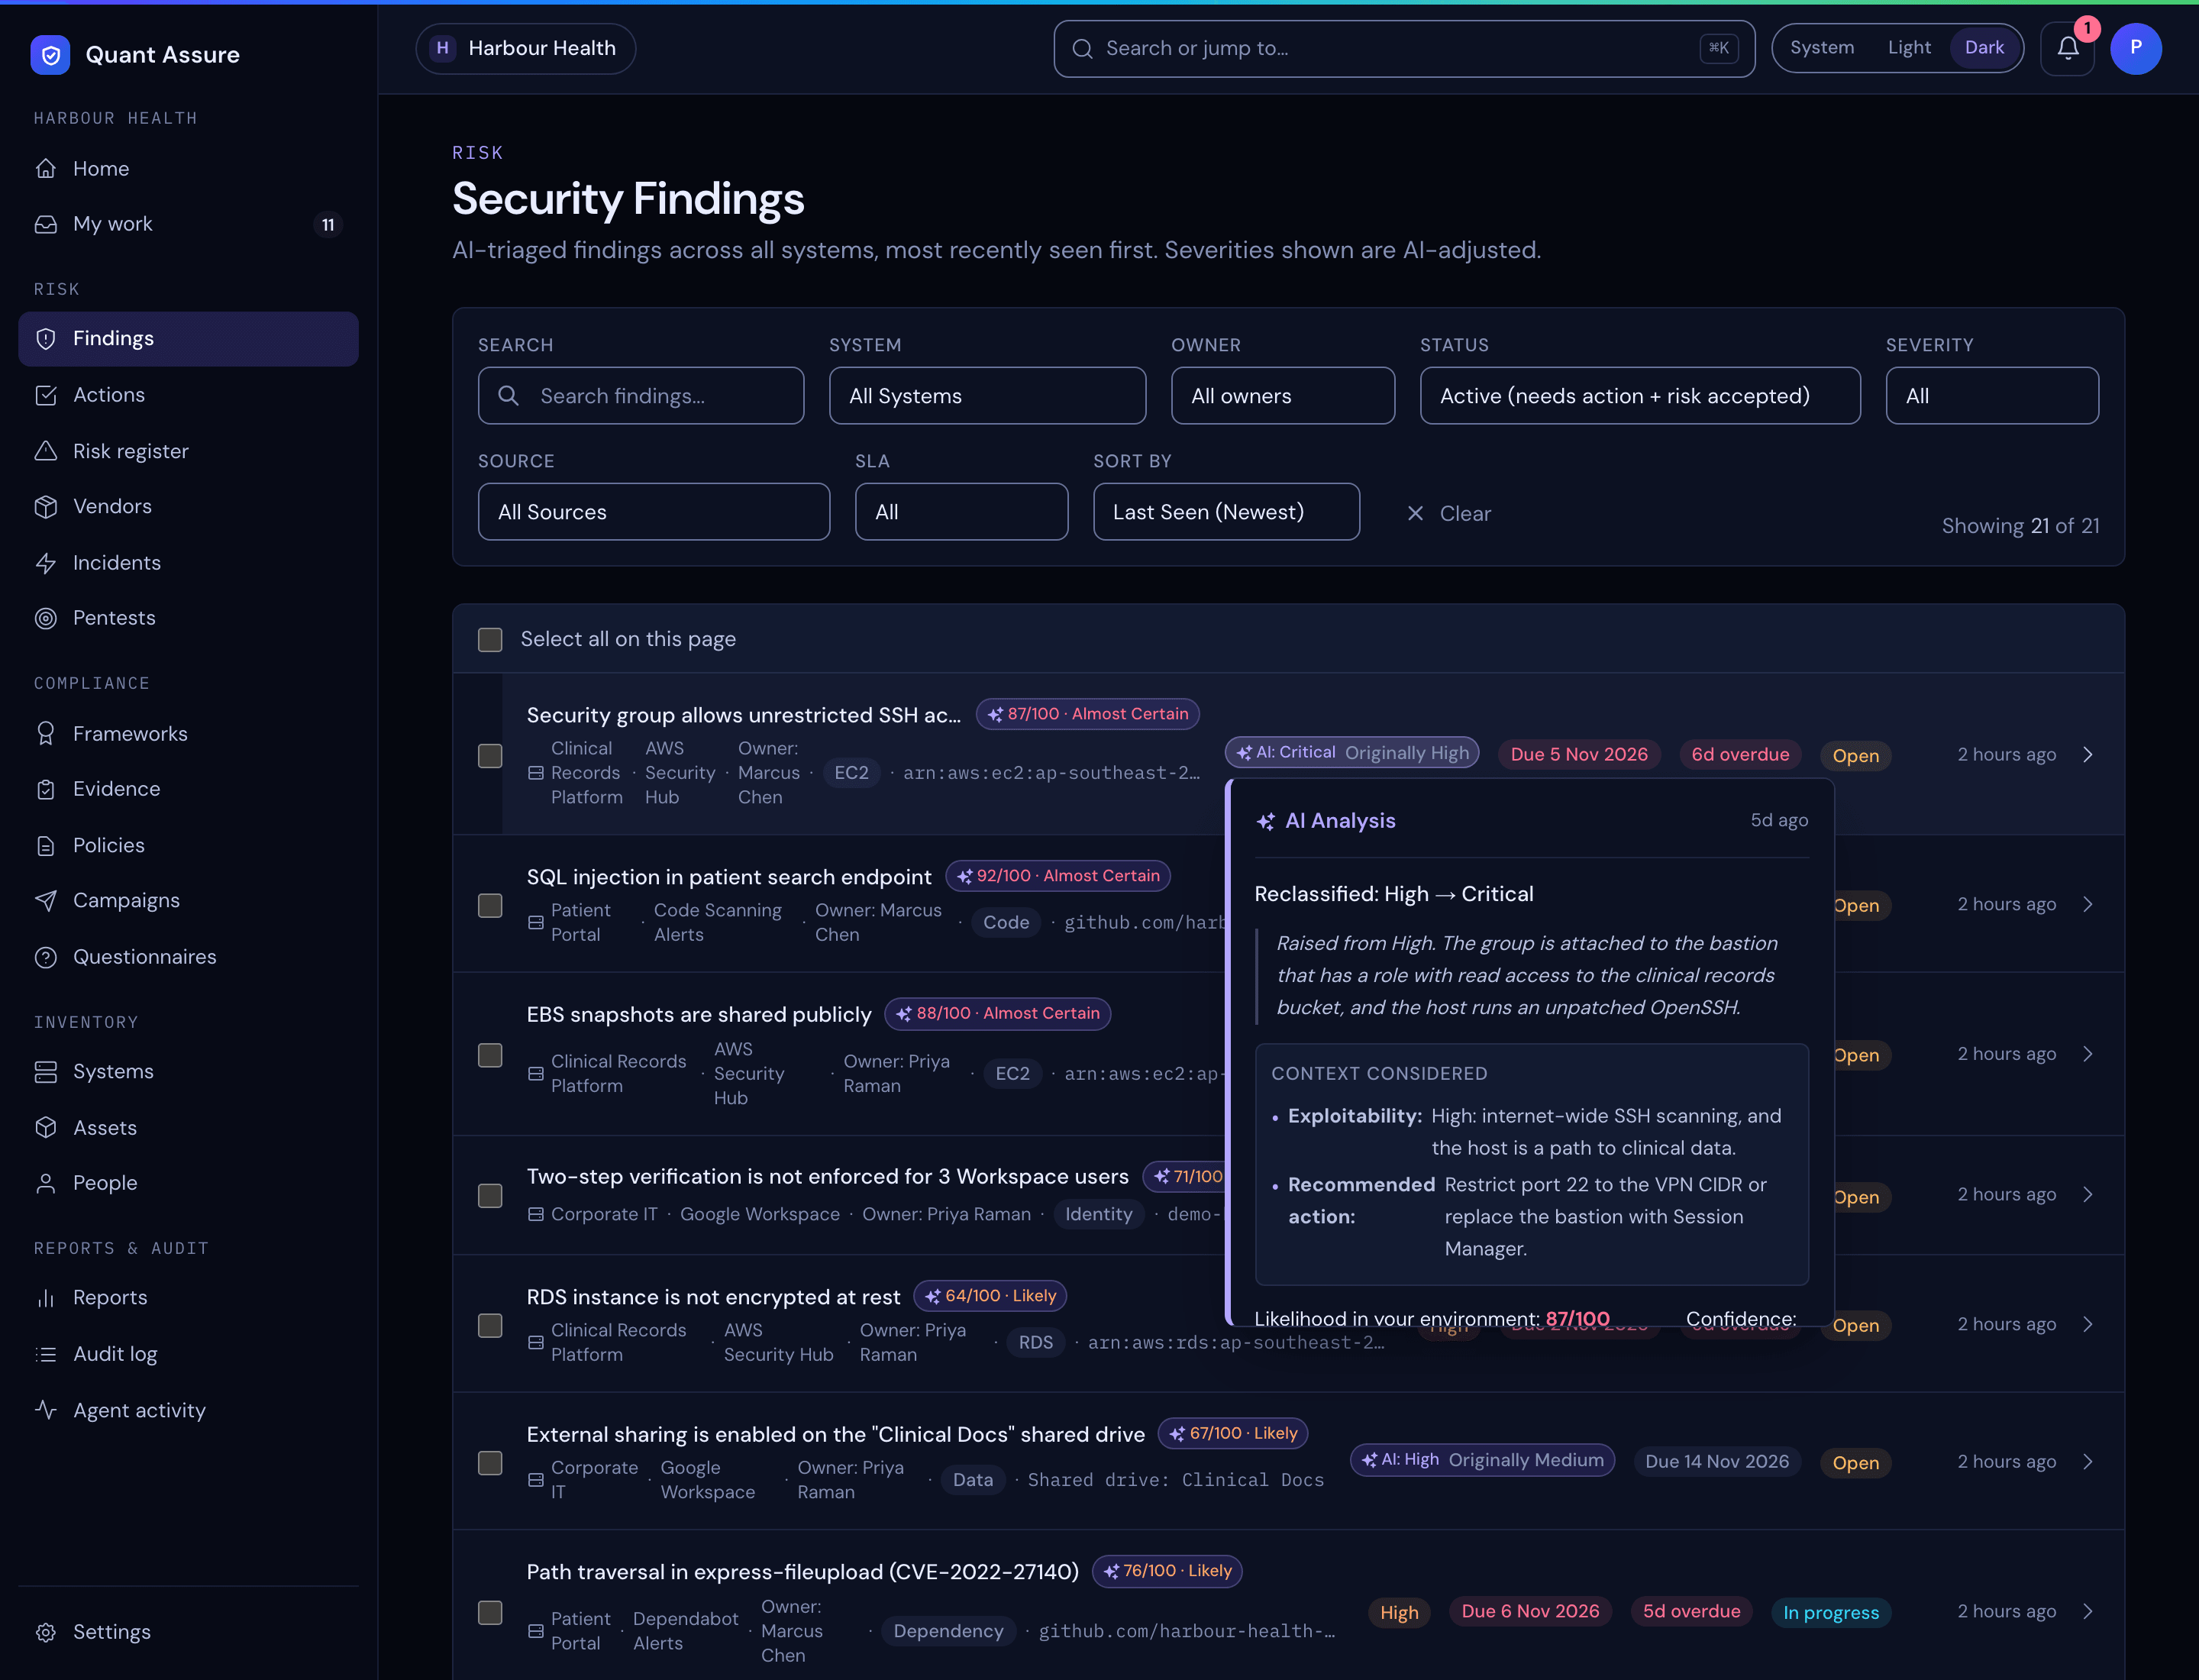
The popover shows the reclassification, the reasoning, the context considered (such as exploitability and the recommended action), and when the analysis ran. On an overridden finding the same click opens the person's reason and what the AI assessed. On the finding's own page the same reasoning is shown inline, with no popover to open (see below). The original severity is preserved forever — the AI adjusts the working severity, never rewrites history.
A "Critical" Dependabot alert in a CI-only transitive dependency might be reclassified to "Low" — because the actual risk is minimal. The reclassification badge and reasoning make that decision inspectable, and the AI Decision Audit Trail report makes it exportable.
Which Findings the AI Reviews
A finding the AI has not reviewed carries a Not yet reviewed by AI marker in the findings list and on its detail page, and is counted at the scanner's severity until a review arrives. The AI reviews a finding when it is new or has changed and its scanner severity meets the threshold:
- High and Critical findings are always reviewed (threshold 4, the default).
- Medium findings are reviewed when they sit in a scope that raises the bar for risk, such as a critical production system (elevated threshold 3, the default). The AI can raise a medium finding there as well as lower one.
- Findings received from connectors (AWS EventBridge, GitHub and Google Workspace) go through the same review. They belong to no scope, so they use the base threshold.
New scopes have AI Analysis switched on by default on
plans that include it. Review stays within your plan's AI allowance: when
the allowance's ceiling is reached, findings stay marked as not yet
reviewed (you can still run Analyze on one), and a connector's burst of alerts is reviewed in batches of
up to 25 per delivery. Both thresholds can be changed per organisation by
support (settings.triage.minSeverity and
settings.triage.elevatedMinSeverity, values 1 to 5).
Finding Detail
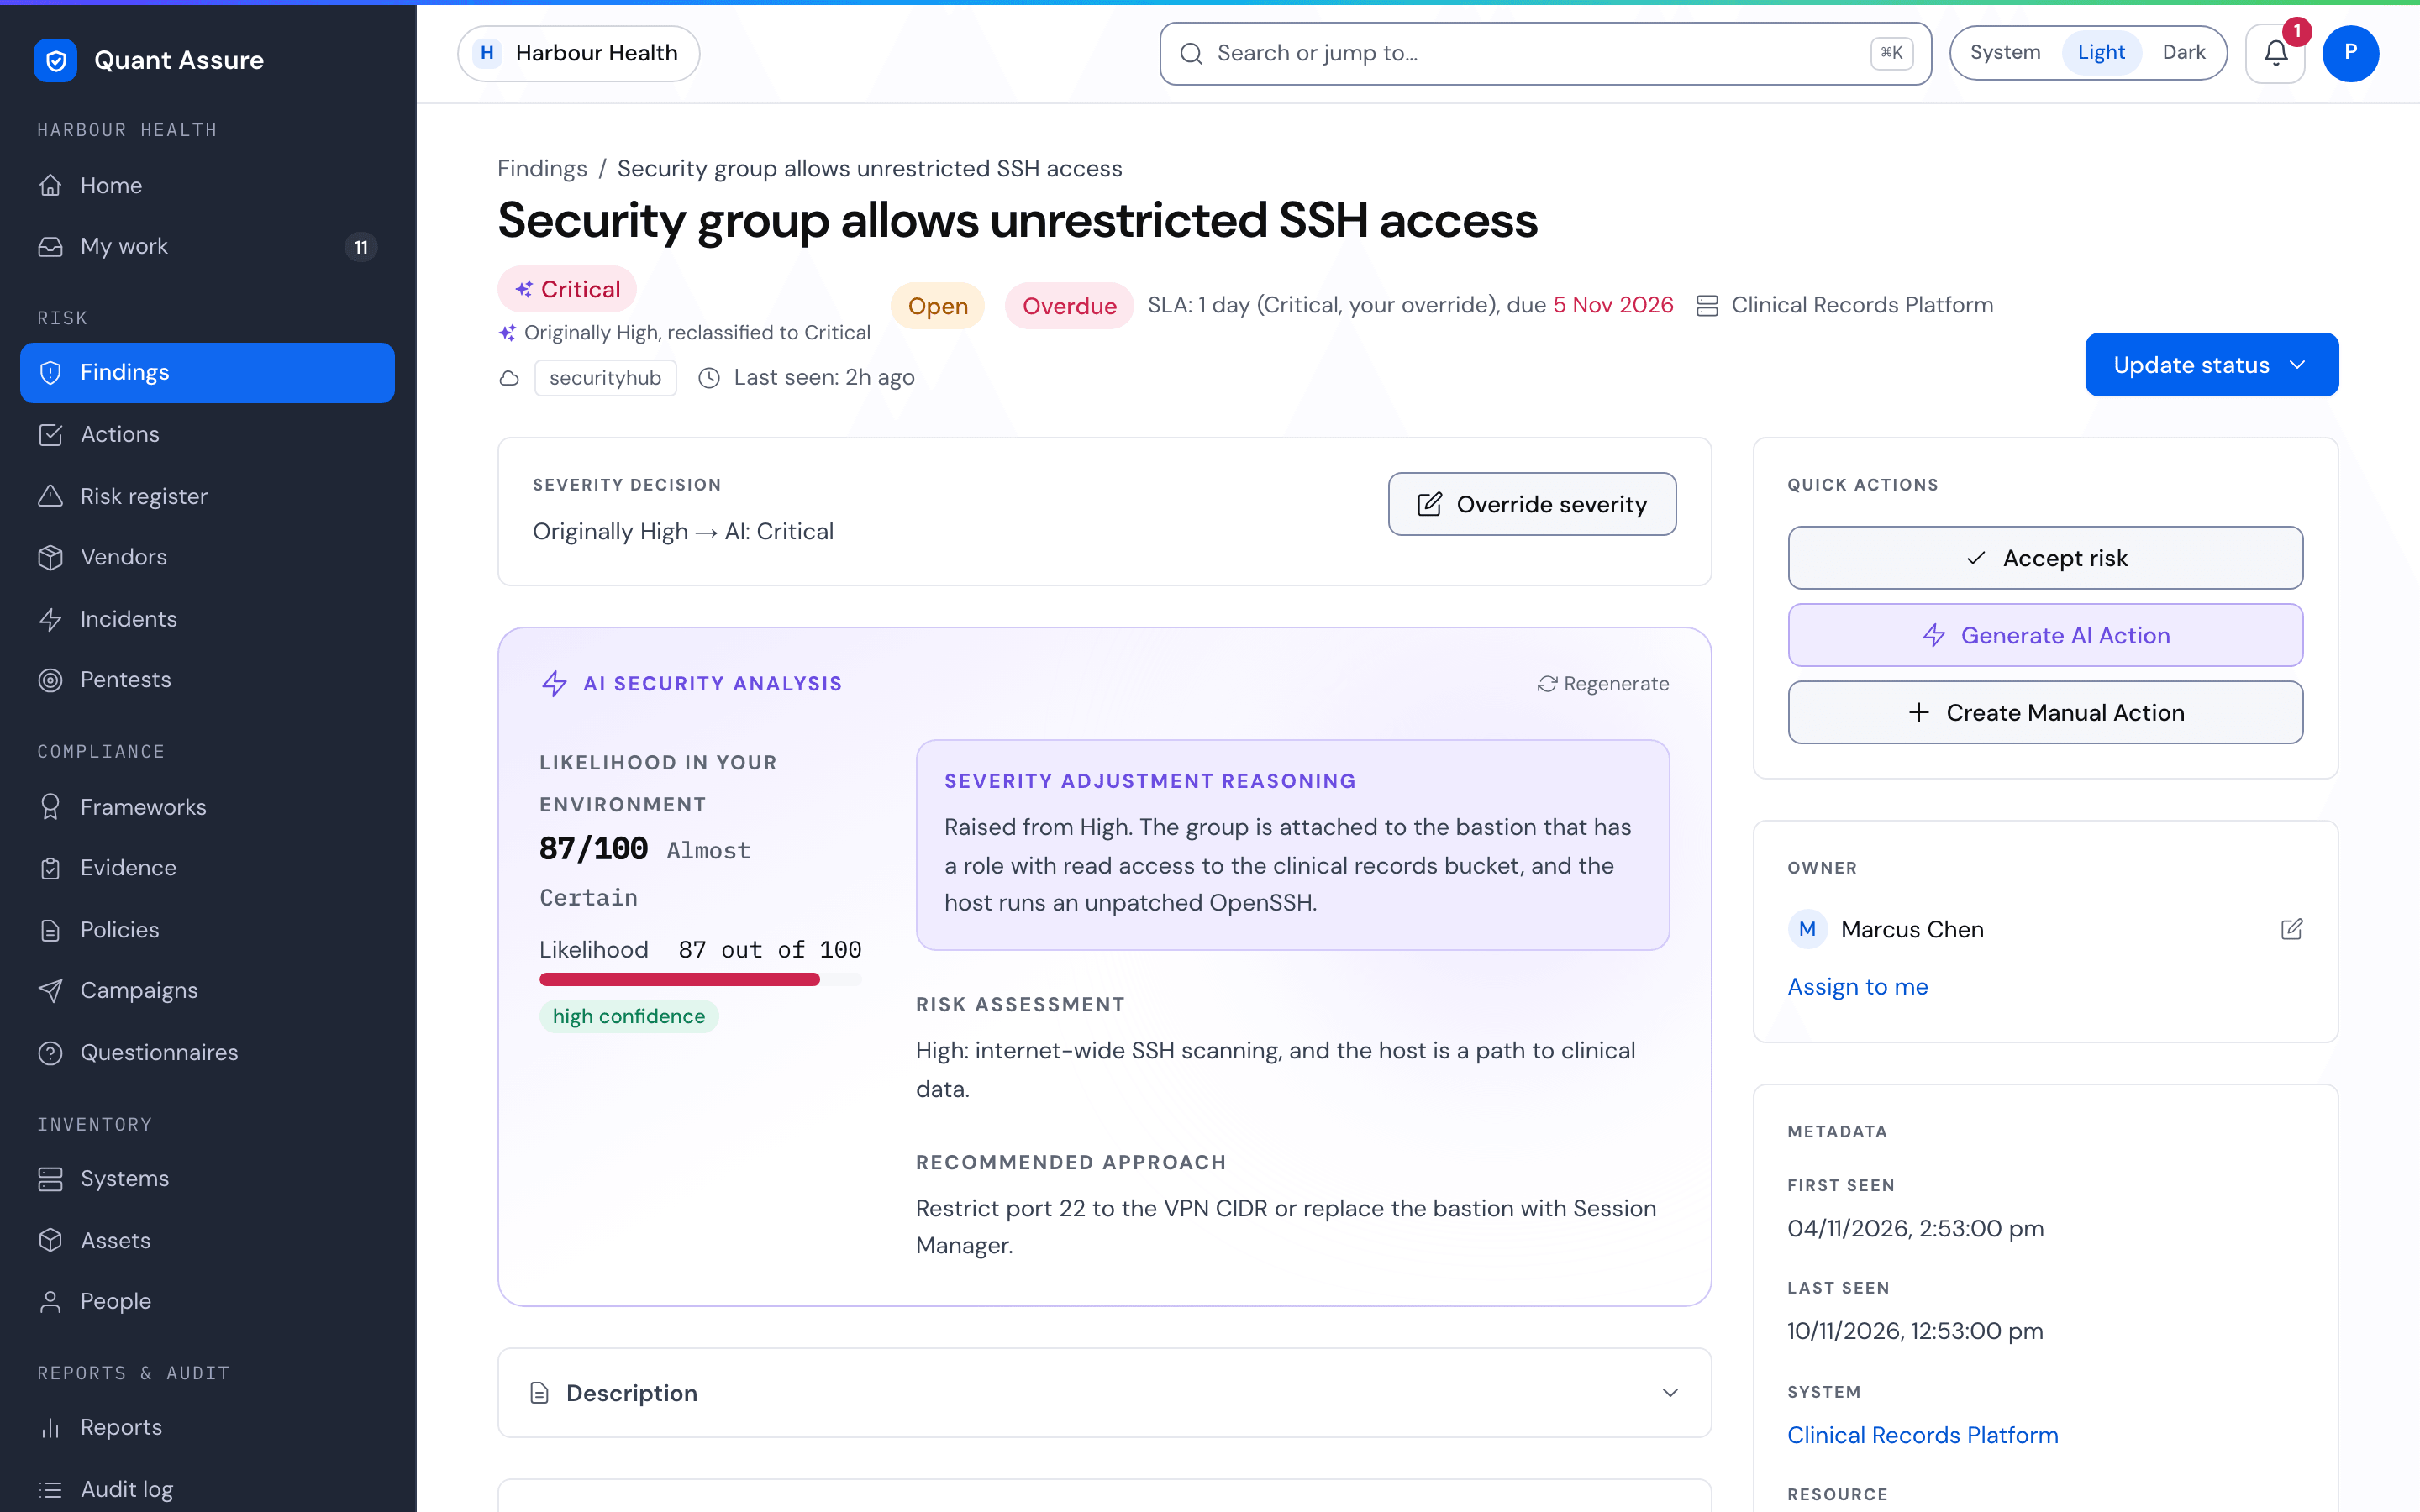
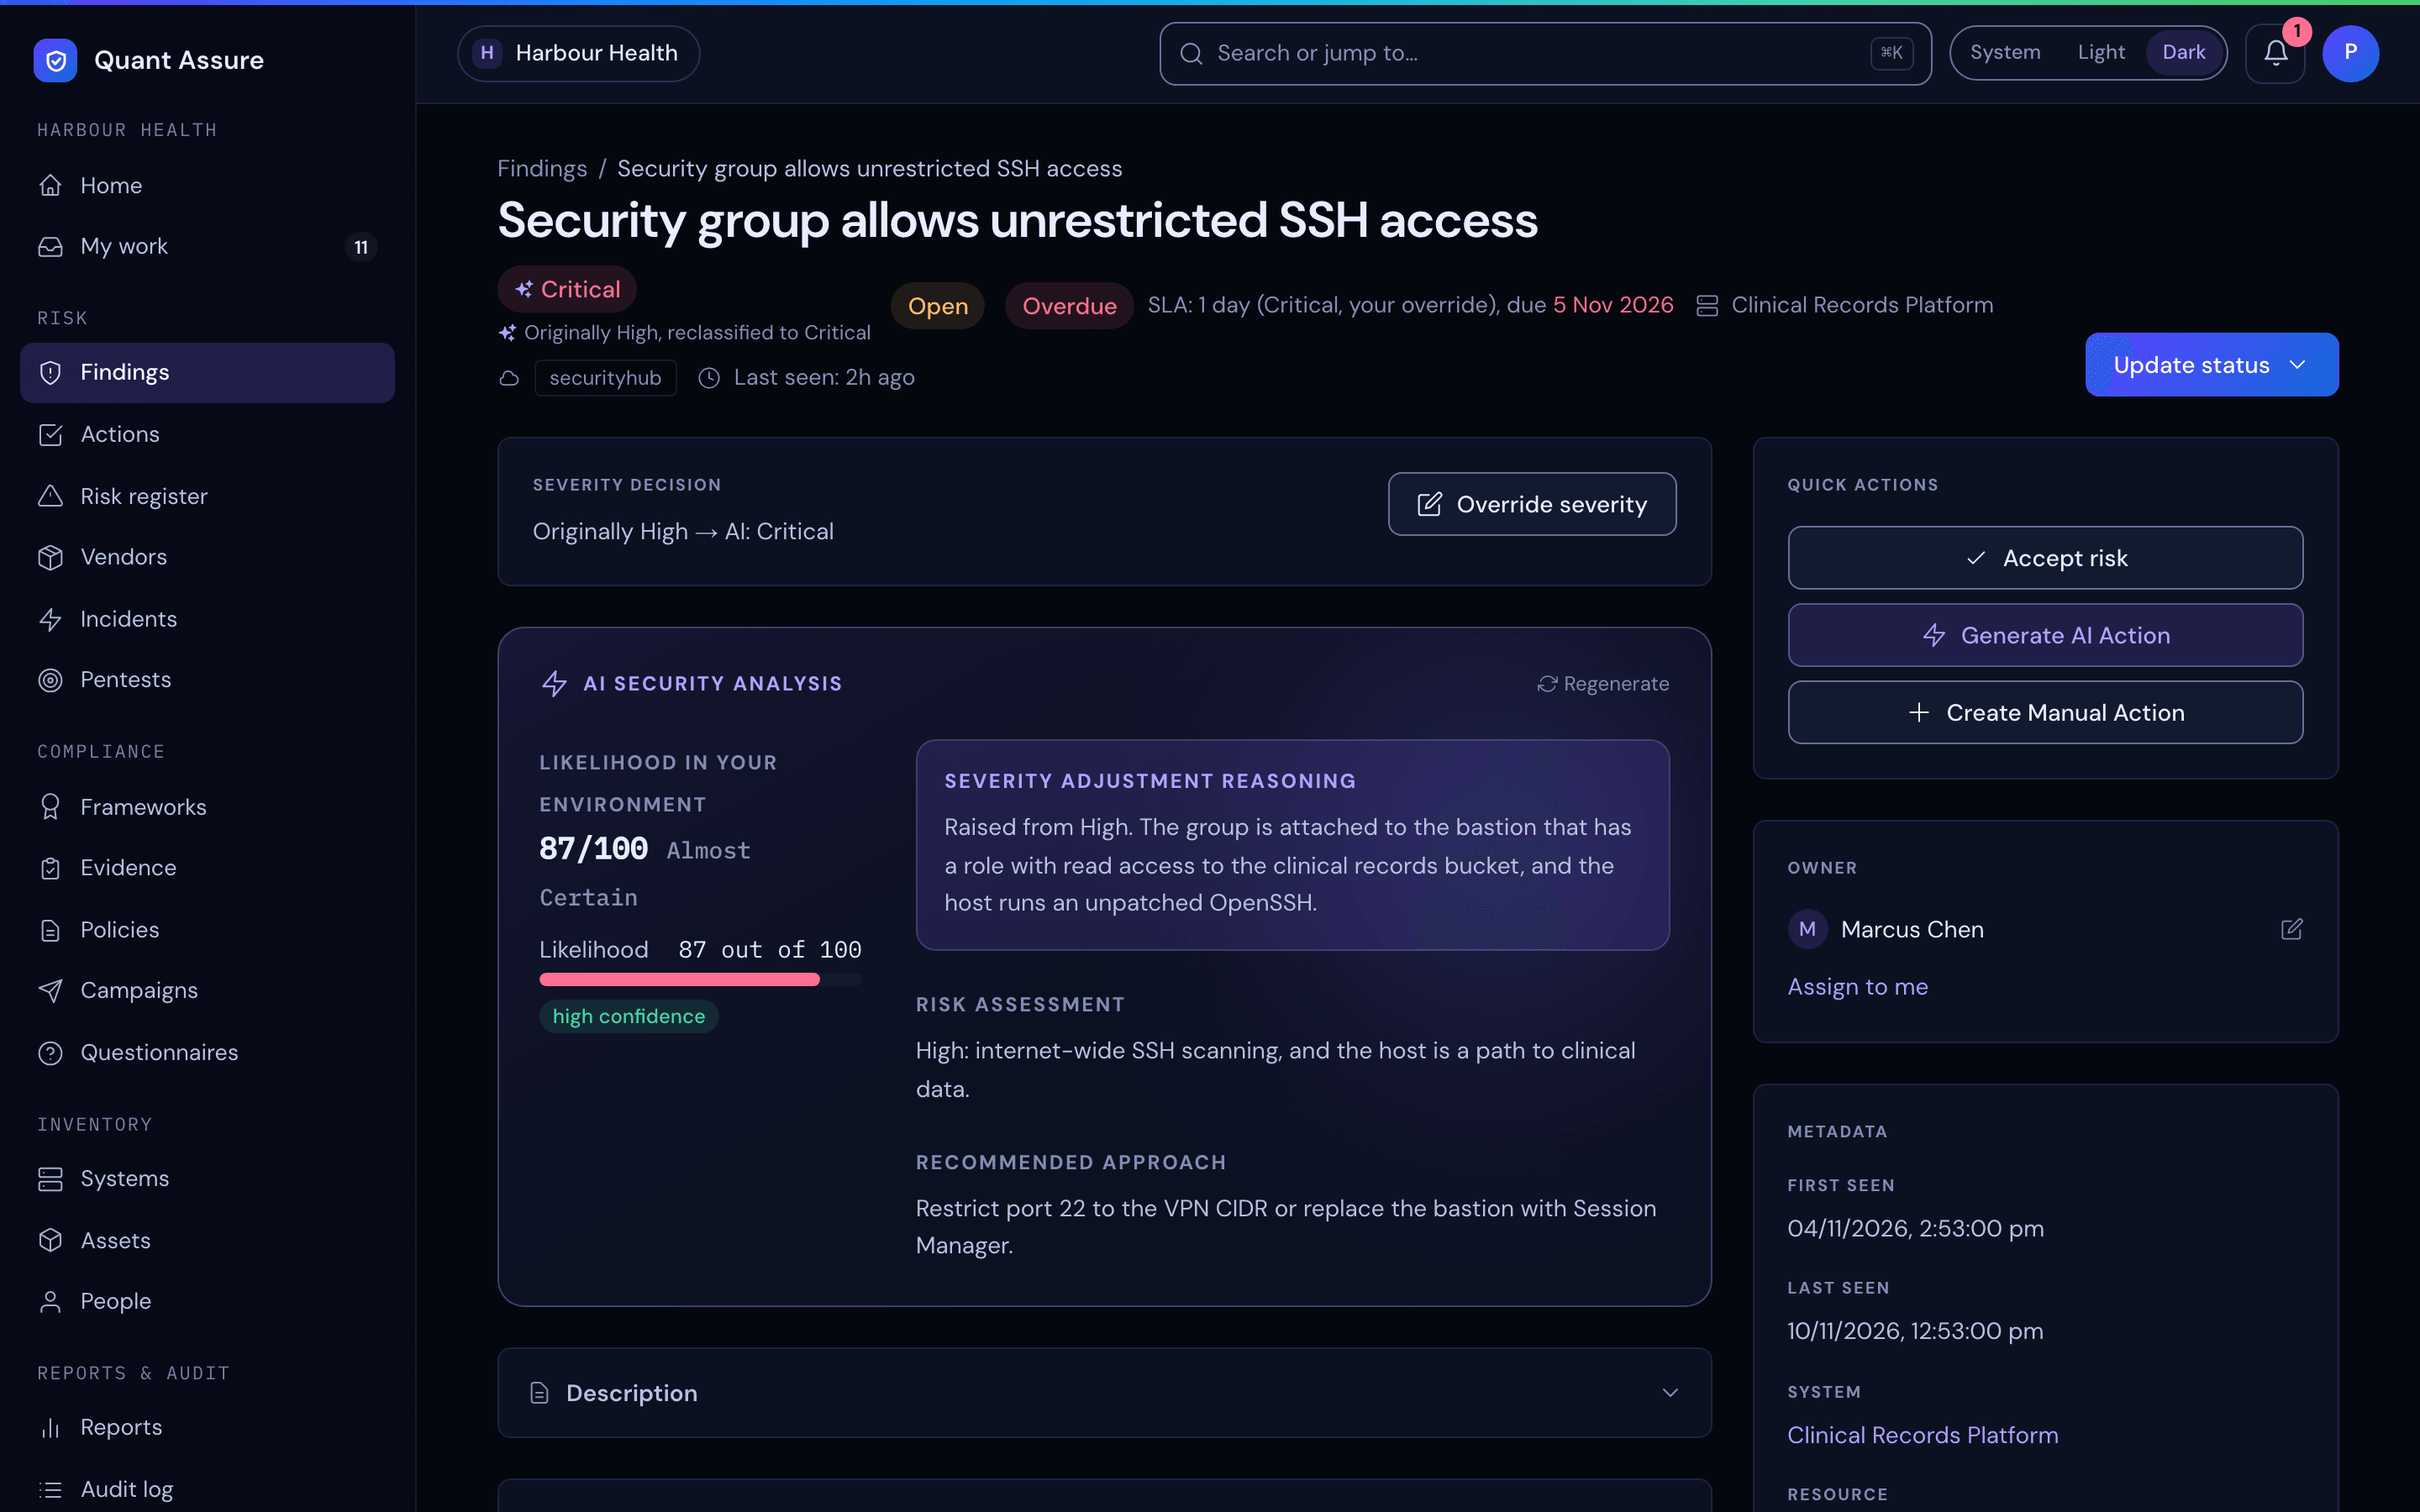
The detail page carries the full picture: dual severity display, the AI's reasoning shown inline (even when the AI confirmed the original severity), risk assessment, impact analysis, recommended actions, technical details, linked policies and controls, and related actions. If the finding hasn't been analysed yet, the page offers to run the AI analysis. Changes to a finding's status, including risk acceptance, are audit-logged with the actor.
Dependabot Remediation PR
For Dependabot findings, QuantAssure checks whether Dependabot has opened a fix pull request and shows its state in a Remediation PR card on the finding page and as a small pill on the findings list. The card links to the pull request and shows its CI result, the update type and target version, its age and when it was last checked. Use the Remediation PR filter on the list to find, for example, every vulnerability whose fix is failing CI. The state does not change the finding's severity or SLA.
- No Dependabot PR: Dependabot could not create a fix. Update the dependency manually.
- PR awaiting merge: a pull request is open and CI passes. It needs a review and merge.
- PR CI failing: a pull request is open but CI fails. The fix needs a code change before it can merge.
- PR major bump: the fix is a major version change. A person needs to review it for breaking changes.
- PR merged: the fix is in. The finding closes once a later run no longer sees the alert.
- PR closed unmerged: the pull request was closed without merging, so the vulnerability is still open.
The card is hidden until the Dependabot Fix PRs extension has checked the finding. It needs the GitHub token's pull request, checks and commit status read permissions; see the GitHub integration.
Finding Owner
Each finding can have one owner, the person responsible for it. Use the Owner card on the finding page to assign it to any member of your organisation (reseller and auditor staff included), take it with Assign to me, or clear it. Viewers can see the owner but cannot change it. The new owner is notified, and each change is recorded in the audit log. Re-scans and other pipeline updates never change or clear the owner. If the owner is later removed from the organisation, the finding shows as unassigned.
Acting on Findings
Remediation
Findings with an AI remediation plan can include a proposed fix. The Recommended Fix panel on the finding page describes the change and, for GitHub repository settings, links to the GitHub page where you make it. QuantAssure gives guidance and does not change your systems.
Deployments that have one-click remediation switched on also show an Apply Fix button in an Automated Fix Available panel. If you don't see that button, remediation is not enabled for your deployment. The button appears only when:
- The AI's remediation plan for the finding includes an automated action. Findings without one show only the written recommendation and actions.
- You can edit findings. Viewers see the proposed fix but no button.
The button is only active for actions QuantAssure can run itself. Today those are GitHub repository settings: enable branch protection, enable secret scanning, enable Dependabot alerts, and enable Dependabot security updates. They use the GitHub token configured on the finding's system. For any other proposed action the page shows "Auto-fix not available" and you apply the change yourself, for example by creating an action.
Where one-click remediation is enabled, to apply a fix:
- Click Apply Fix in the Automated Fix Available panel
- Review the proposed change in the confirmation dialog
- Click Confirm & Apply; QuantAssure runs the action and reloads the page
Risk Acceptance
For findings you've assessed and decided to accept rather than remediate:
- Click Accept risk in the Quick Actions panel on the finding page
- Choose a reason: Business Risk Accepted, False Positive, Mitigating Control Exists, or Plan to Fix
- Choose a duration (7 days, 30 days, 90 days, 6 months or 1 year); the acceptance expires then so the risk is reassessed
- Provide a justification and click Confirm Acceptance
Accepted findings stay in the default findings list, with an Risk accepted status badge, and don't count against your security posture score or open counts. The finding page shows who accepted it, the reason, the justification and when it expires.
A later scan that still finds an accepted, dismissed or in-progress finding does not undo that decision: the finding keeps the status a person gave it. An acceptance ends when someone reopens, resolves or dismisses the finding, when the source reports it fixed or no longer finds it, or when it expires. Removing a source does not end an acceptance: only open findings move to Source removed. The acceptance is kept as history with the date, the reason it ended and who or what ended it, and is written to the audit log. Accepting the finding again records a new acceptance.
When an acceptance expires, the finding is no longer accepted. Within the hour after the expiry date, QuantAssure moves the finding back to Open and ends the acceptance with the reason "Expired", attributed to the system. The audit log records the expiry and the status change. A scan that finds the finding again after expiry does the same, if it gets there first. To keep the risk accepted, accept the finding again with a new justification and expiry, before or after it lapses.
The SLA clock does not count the time a finding spent under a valid acceptance. When it reopens, the clock carries on from where it stopped when the finding was accepted, so a finding accepted on day 2 of a 7-day SLA has 5 days left once it reopens. Time after the expiry date counts again, even if the finding has not been reopened yet. If the finding was already overdue when it was accepted, it is still overdue when it reopens.
Creating Actions
To track the remediation work for a finding, use the Quick Actions panel on its page: Generate AI Action asks the AI to draft an action, and Create Manual Action opens a new action linked to the finding. Linked actions are listed under Related.
Changing a finding's status
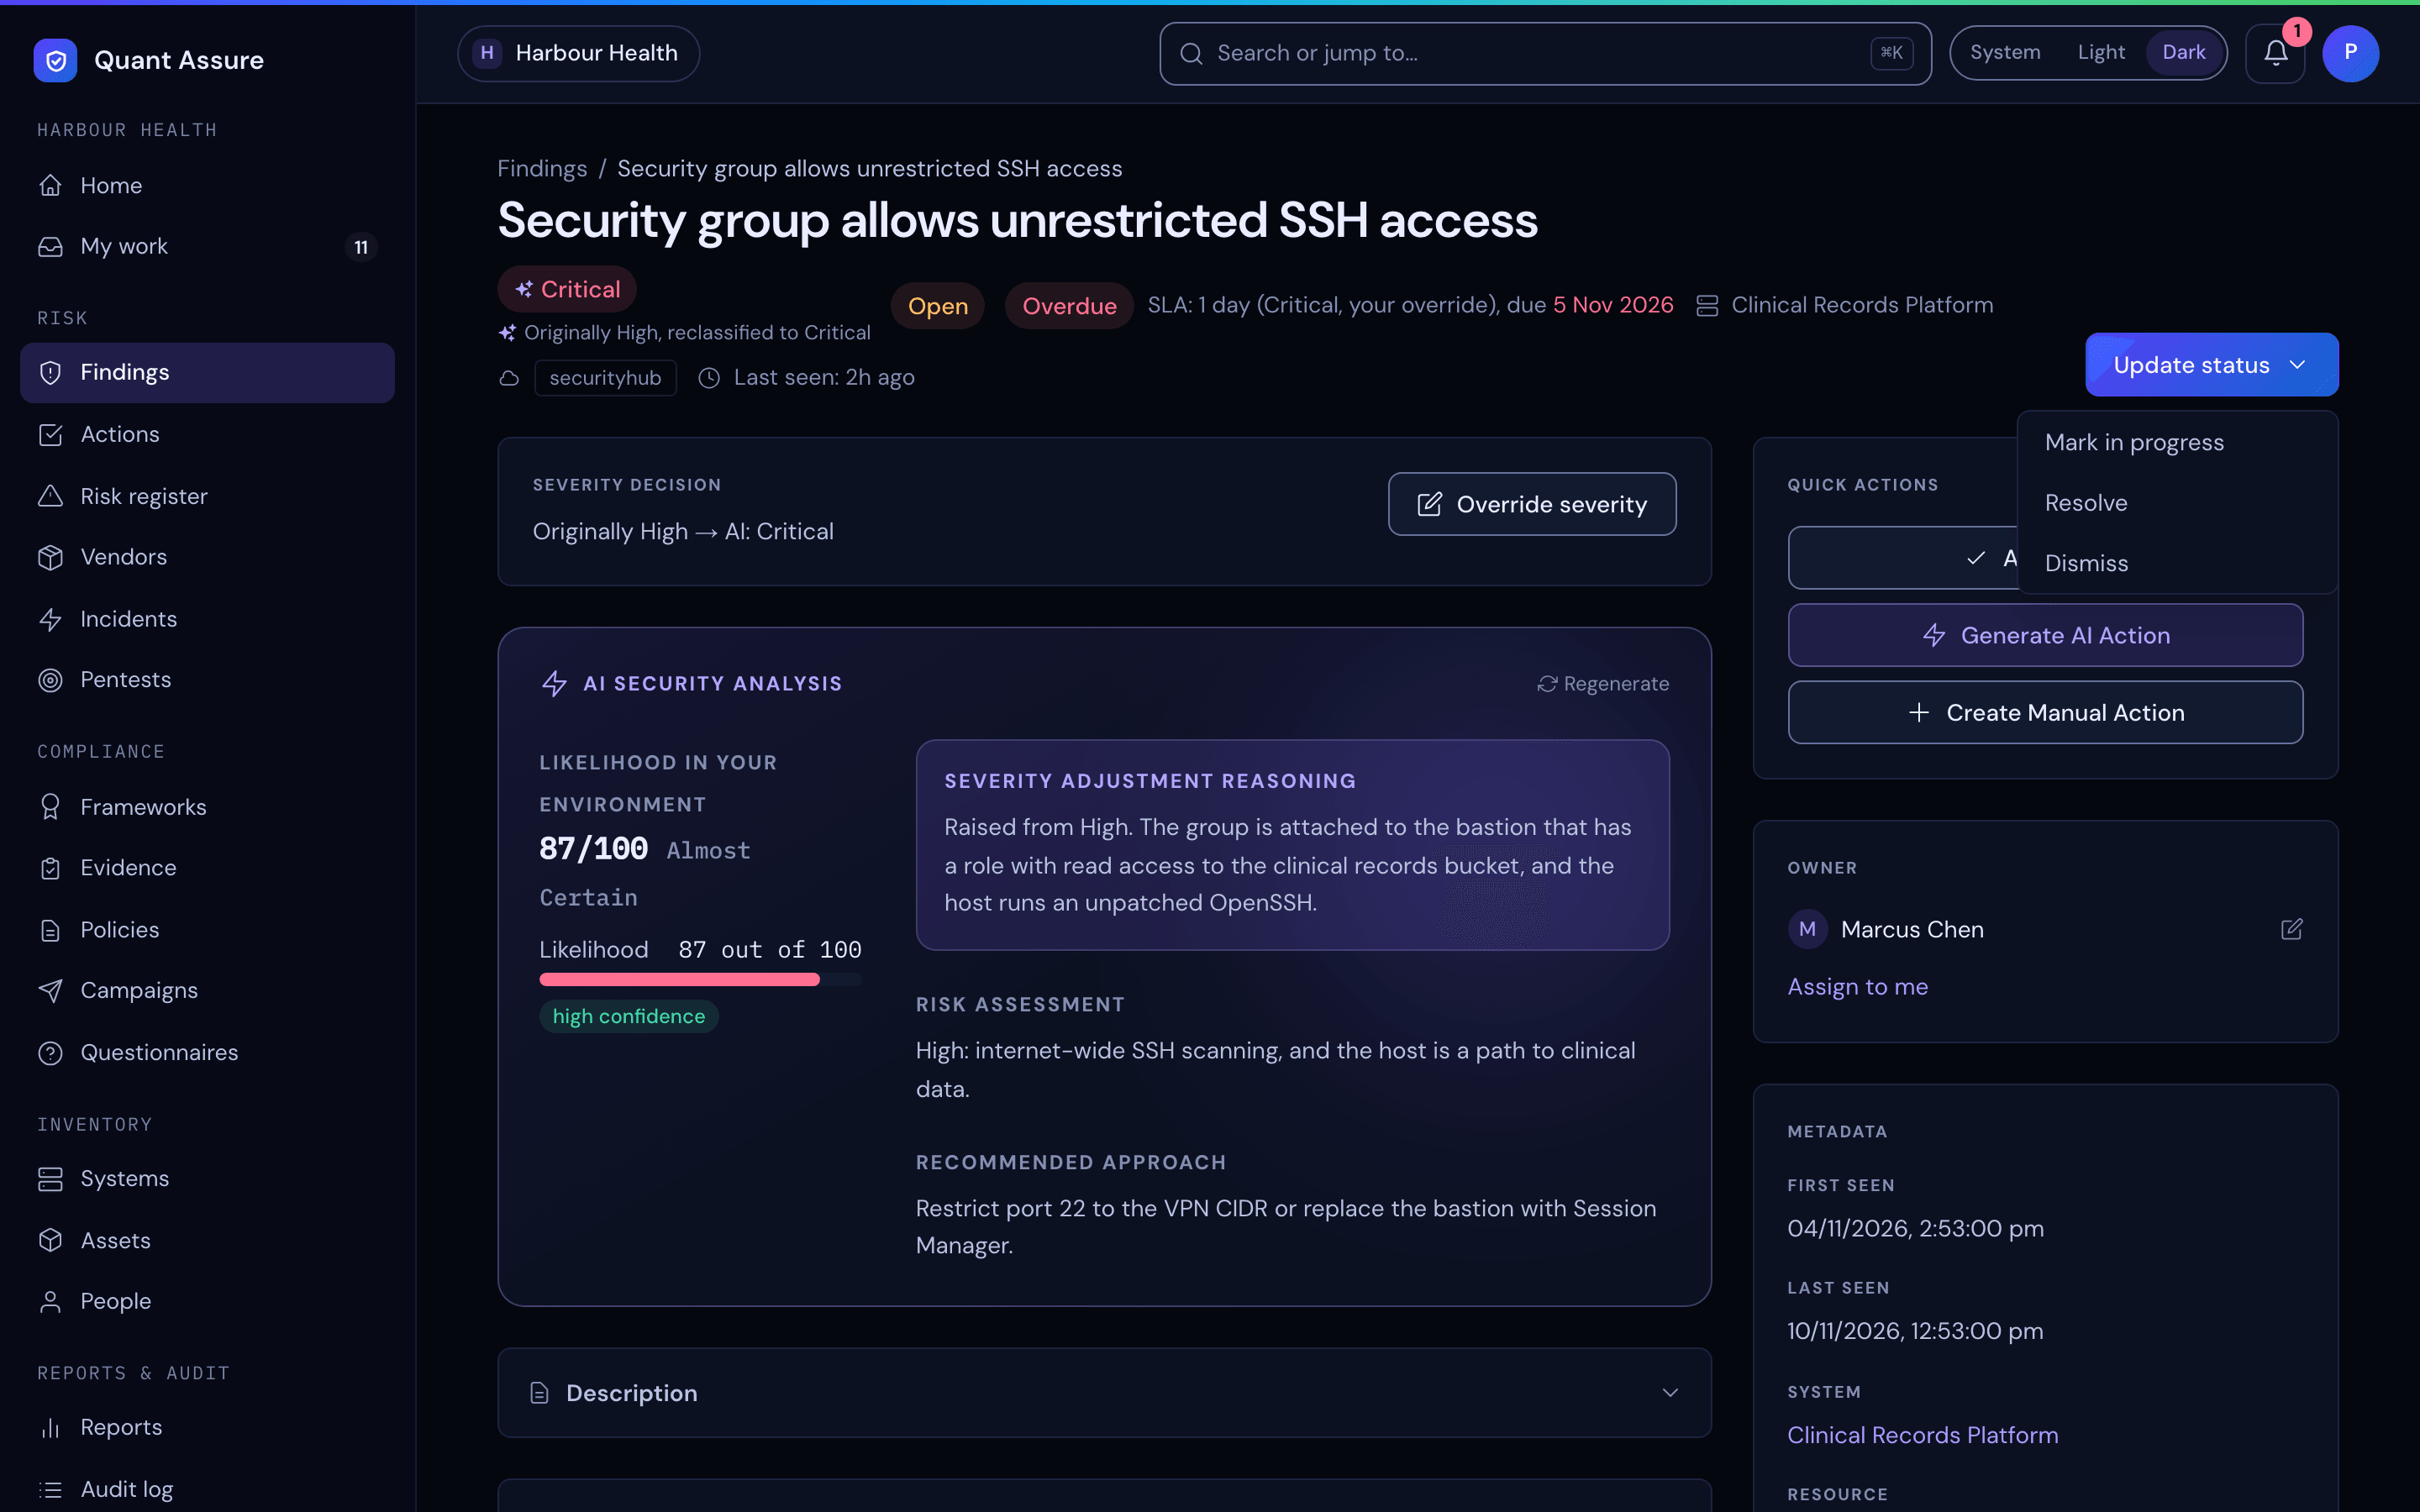
Use Update status at the top of the finding page. An open finding offers Mark in progress, Resolve and Dismiss; an in-progress one offers Move back to open in place of Mark in progress; a closed one offers Reopen. Resolving and dismissing ask for a reason, which is saved with the change. Other changes ask for an optional note. Viewers can't change a finding's status.
The Status history card on the finding page lists each change with who made it, when, and the reason. Every change is also recorded in the audit log with the person and the reason.
- Reopening sets the finding back to Open. Resolved, Dismissed and Remediated findings can be reopened
- On a risk-accepted finding the menu offers Review / renew acceptance, End acceptance and reopen and Resolve. Renewing opens the acceptance form: pick a new duration and give a justification. The old acceptance is closed as replaced and kept in the history, and the finding stays accepted under the new one. Ending or resolving needs a reason, closes the acceptance and records it in the audit log
- Source-removed findings have no status menu. They return when the source is re-enabled
- For a false positive you want to keep on record against an expiry date, use risk acceptance with the False Positive reason instead of dismissing
A finding is also resolved automatically when its source reports it fixed or stops reporting it.
Source Removed
When someone disables or removes a source from a system (for example, switching off Dependabot Alerts or the GitHub collector), or deletes the system, that source's open findings move to Source removed. This status means the source is no longer checking them. It does not mean they were fixed.
- Source-removed findings are excluded from the posture score, SLA timers and open counts, and are never counted as resolved or remediated
- Choose "Source removed" in the Status filter to list them; the finding detail page shows who removed the source and the status the finding had before
- Each change is recorded in the audit log with the user, system, source and number of findings
- If you re-enable the source and a later run reports the finding again, it returns to its previous status, and the audit log records this. A run that started before the source was removed never brings a finding back
- A failed or partial run never removes findings this way. Only a person changing the system's configuration does
Trust, but Verify
Every AI decision is itself evidence: reclassifications are written to the audit log per finding, and the AI Decision Audit Trail report exports every decision — including confirmations — with reasoning, for any period. If you disagree with a decision, you can override the severity, accept the risk or create an action to remediate it anyway; all are logged alongside the AI's decision.
Overriding the AI's Severity
When you know something the AI doesn't, such as a system that is exposed to the internet, you can set the severity yourself. Owners, admins and members can do this; viewers and API tokens can't.
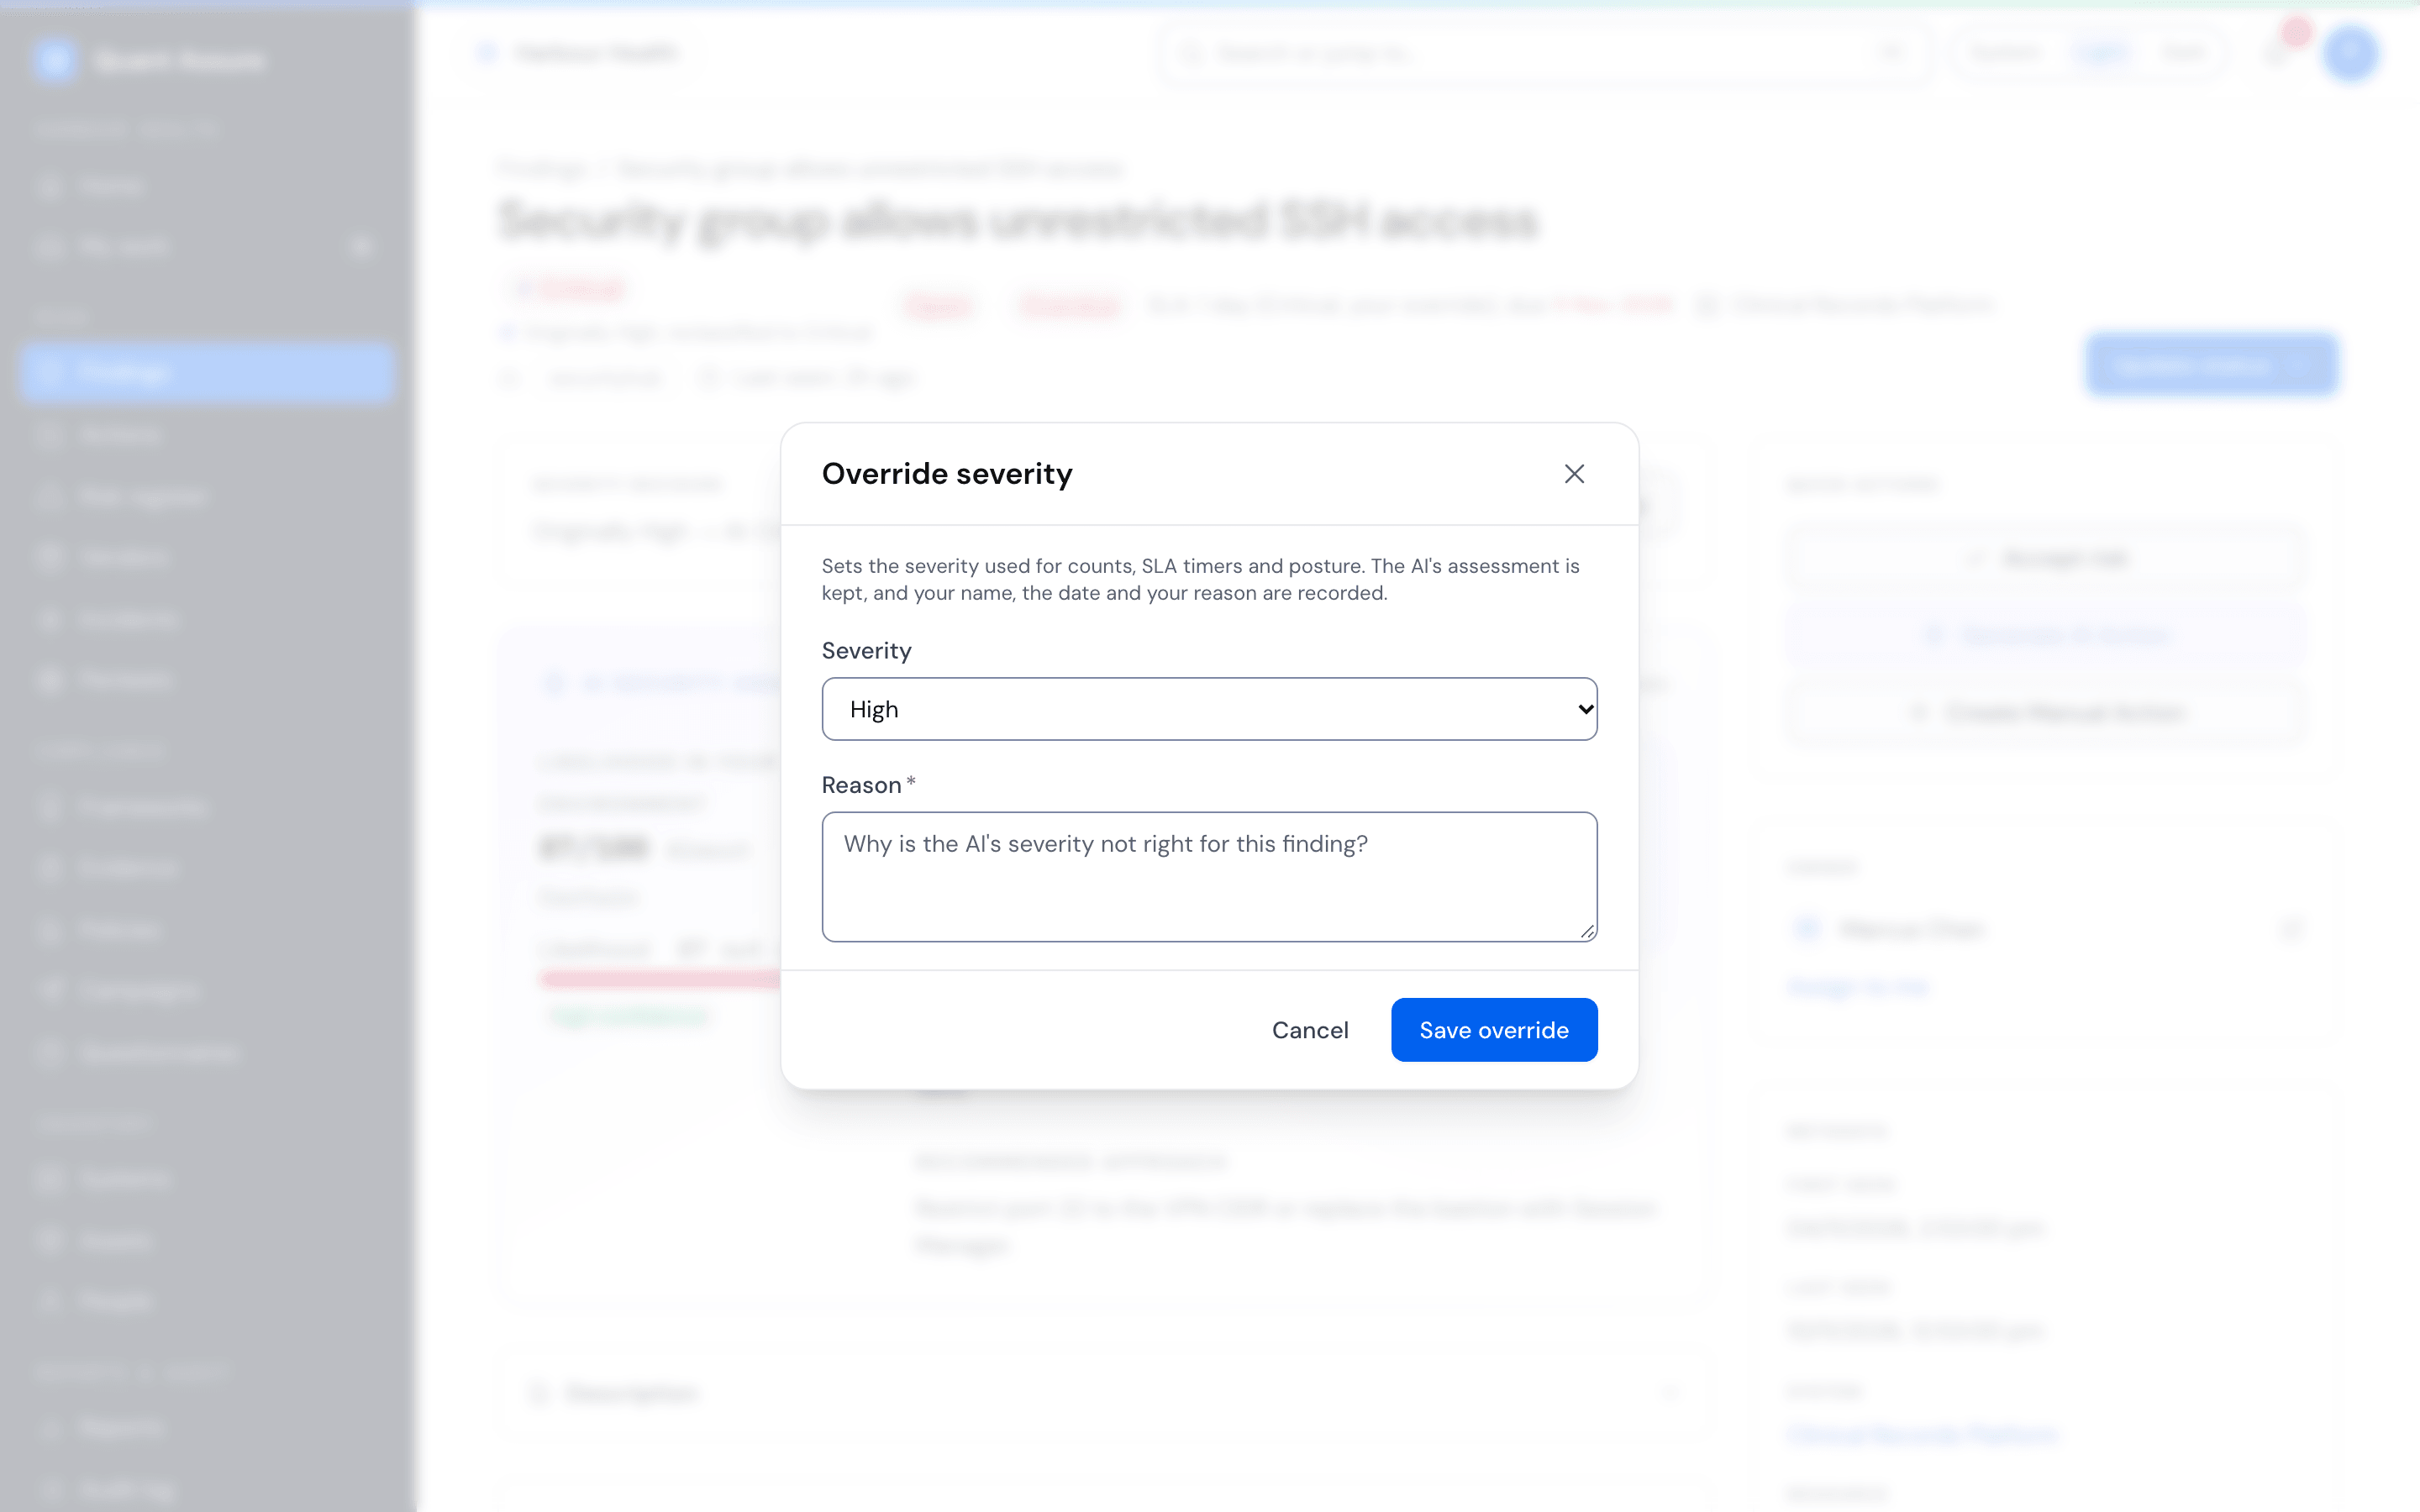
- Open the finding and choose Override severity in the Severity decision panel. (If the finding already has an override, the button reads Change override.)
- Pick the severity and write the reason. The reason is required
- Choose Save override. The finding now counts at your severity in the dashboard, charts, posture score and SLA timers, and its SLA clock follows the new severity
The AI's assessment is never rewritten. The finding page shows the whole chain, for example Originally Critical → AI: Low → Overridden to Critical by Jordan Lee on 10 Nov 2026 with your reason, and the findings list marks the finding with an Overridden badge. If the AI analyses the finding again, your severity stays in force, the page shows what the AI now says, and the change is written to the audit log.
Figures that describe findings as they are now treat an overridden finding as a person's decision, not the AI's. The count of reclassified findings on Home (and the link behind it to the findings list) and an incident's linked findings leave it out of the AI's figures and show Overridden by and the person's name instead.
Figures for a period record what happened in that period. On Home, What changed this week shows AI reclassified (every reclassification the AI made in the period) beside Your team overrode the severity of a number of findings. The board summary report shows the same two figures as AI reclassified and Overridden by your team. A finding the AI reclassified and your team then overrode counts once in each, and overriding it later never changes the figures for a past period, so they always reconcile with the audit log.
Choose Revert to AI severity to remove the override. That also needs a reason, and the AI's severity applies again. Every override and revert is written to the audit log with who, the old and new severity and the reason, and appears in the AI Decision Audit Trail report.
Findings and Compliance
Findings are automatically mapped to relevant ISM controls by QuantAssure's AI:
- Linked findings appear as evidence on control detail pages
- Resolving findings improves your compliance readiness score
- The AI considers your findings when assessing control implementation status
See Evidence Collection for details on how findings support your compliance reporting.
Next step → Set your SLA policy — every open finding already has a remediation clock running; tune the deadlines to your organisation.