Settings & Team
Settings is one page with a tab for each area. Every tab has its own address, so you can bookmark
or share one, for example /dashboard/settings/team. Settings holds the organisation's configuration only.
Your own profile, password and two-factor authentication are on a separate page, Your account,
opened from the menu under your avatar.
| Tab | What it holds |
|---|---|
| Organisation | The organisation's name and ID, your plan and its limits (Plan and usage), and AI token usage this period |
| Team | Members, their roles, partner and sign-in status, staff campaigns, and pending invitations (below) |
| Security | Requiring MFA for all members, API keys for the REST API, the AI clients (MCP) with access, and support access |
| Notifications | In-app, email and Slack channels, the security digest email, run failure and compliance drift alerts, and which action priorities notify |
| Compliance | The frameworks you target, your SLA policy, risk tolerance per category (risks over tolerance are flagged in the risk register) and policy management (whether acknowledgement campaigns are created automatically) |
| Trust centre | Your public trust centre page: turn it on, set its organisation details and what it publishes (frameworks, policies, subprocessors, security tests, Q&A and shared documents), create time-limited share links, and copy embed badges |
Viewers have no Settings tabs; Your account is open to every role. Members see Organisation, Team, Notifications and Compliance. Security and Trust centre are for owners and admins only. Within a tab, some controls need a higher role: only owners invite, remove and change the roles of members, and only owners and admins change whether a member is included in staff campaigns.
Saving changes
Each section has a Save button, and nothing is saved until you press it. If you try to leave the page with unsaved changes, your browser asks you to confirm first. Switching between tabs keeps your edits. Some actions take effect straight away because they are not settings: sending a test Slack message, creating or revoking an API key, share link or support token, and inviting, removing or changing the role of a member.
Bookmarks to the old Organisation, Support access and Trust centre pages still work: they open the matching tab. See Where did everything go?
Your account
Open the menu under your avatar and choose Your account (/dashboard/account) to manage
your own account. Every role has it, viewers included. Links to the old Settings → Account now land here or
on the first Settings tab you can see.
Profile
- Update your display name
- View your email address (read-only)
Password
- Change your password under Your account, in the Sign-in and security section, with Change Password
Two-Factor Authentication
- Open Your account and find Two-Factor Authentication
- Click Setup 2FA
- Scan the QR code with your authenticator app
- Enter the verification code and choose Verify & Enable
- Save your backup codes in a secure location
Active Sessions
- View all active sessions (device, IP, last activity)
- Revoke sessions you don't recognise. The revoked device is signed out on its next request
- Current session is marked
- Signing out, or resetting your password, ends the session (or all sessions) straight away
Appearance
QuantAssure follows your device's light or dark setting by default. To choose for yourself, use the System / Light / Dark control in the top bar (or above the article in these docs). System follows your device and changes with it. Light and Dark stay fixed. The choice is stored in your browser, so it applies per browser and device, not to your account. Public trust centre pages and printed reports always use the light theme.
Requiring MFA
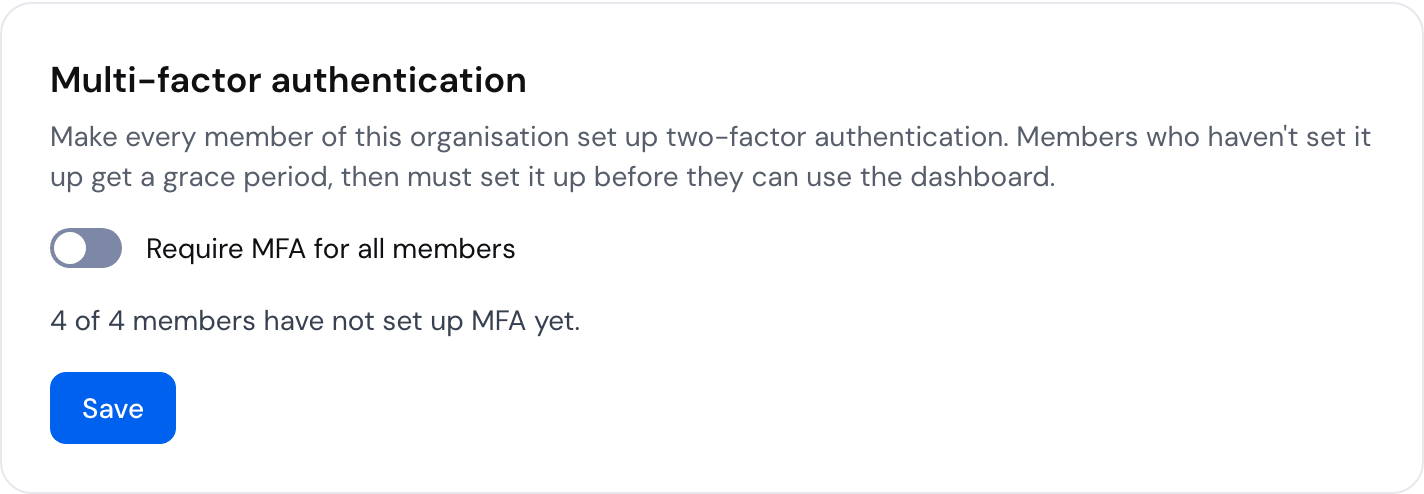
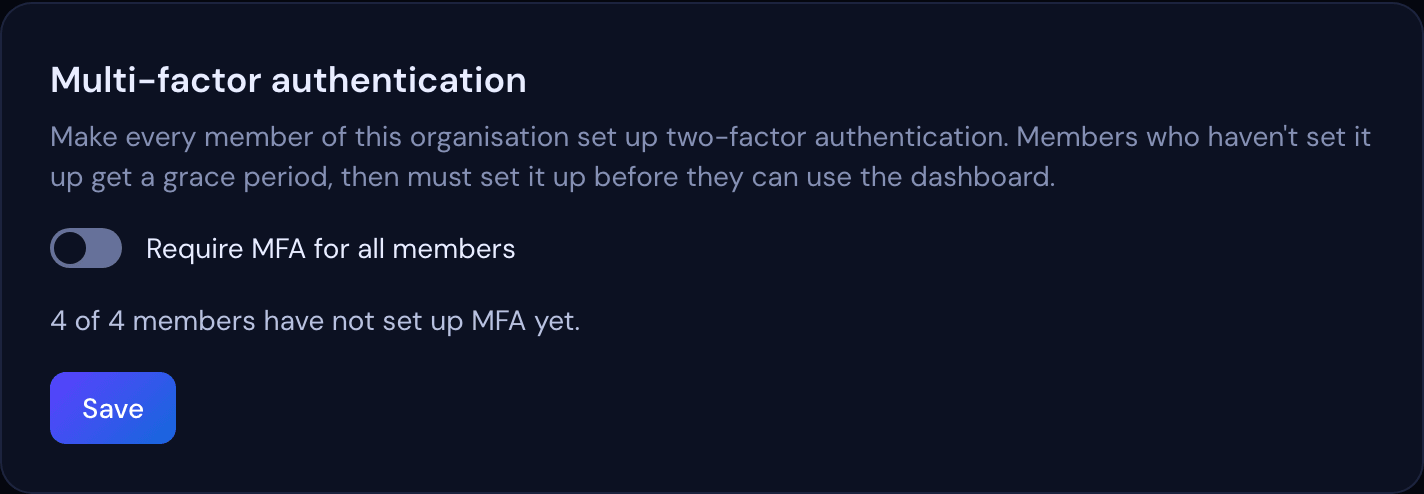
Owners and admins can require every member to use two-factor authentication. Open Settings → Security, turn on Require MFA for all members, set the grace period (7 days by default, 0 to 90) and choose Save. You are asked to confirm when you switch it on. The section shows how many members have not set up MFA yet.
- Members without MFA see a banner counting down the grace period, with a link to Your account to set it up
- When the grace period ends, they are sent to set up MFA before they can use the dashboard
- Turning the requirement off clears every member's grace period
Team Management
Inviting Members
- Open Settings → Team and click Invite (only owners see it)
- Enter the email address
- Select a role (Member, Admin or Viewer). The Owner role is not offered on the invitation
- Choose whether the person is included in staff campaigns (see below)
- Click Send invite
- Invitations expire after 7 days
- Resend or revoke pending invitations as needed, from the Pending Invitations list
- If the invitation email could not be sent, the invitation stays in the list marked Email failed — click Resend to try again
Roles
| Role | Permissions |
|---|---|
| Owner | Full access including team management and org settings |
| Admin | Full access except ownership transfer — can manage settings and team |
| Member | Standard access — can view and edit findings, actions, policies, and can override a finding's severity |
| Viewer | Read-only access to all data, in the dashboard, the API and MCP. Viewers cannot override a finding's severity. Viewers can still manage their own account settings |
| Service | The role an API key acts with. It can write like a member but cannot override a finding's severity |
Changing a Member's Role
- Owners can change another member's role with the role selector next to their name in Settings → Team
- The new role applies on the member's next request, within 30 seconds. They do not need to sign in again
- You cannot change your own role. Ask another owner
- The last owner cannot be demoted. Make another member an owner first
- Each change is recorded in the audit log with the old and new role
Staff campaigns
Members who are included in staff campaigns receive the policy acknowledgement and training campaigns sent to all members, and count towards their completion. Members who are not show a Not in staff campaigns label. Partner staff (for example a reseller managing the organisation for you) and outside auditors usually need access without being included. There is no separate auditor role: give an auditor the Viewer role.
- The option defaults to on for members and off for admins and viewers. Change it before sending the invite
- Owners and admins can change it later for an existing member with Exclude from staff campaigns or Include in staff campaigns. The change is recorded in the audit log
- Excluding a member removes their outstanding items from active all-member campaigns; items they already completed stay as evidence. Including a member enrols them in active all-member campaigns
- Campaigns sent to selected people can still include anyone in the organisation
Partner staff, sign-in and MFA
Each row on the Team tab shows who the person is and how they use the account:
- External partner marks someone who belongs to more than one organisation (partner or reseller staff) and is not included in this organisation's staff campaigns. Partner staff working in your organisation as external partners also see a "You're working in … as partner staff" strip at the top of every page. See Working across customer organisations
- Last active is the person's most recent dashboard session. It is not shown for external partner staff, so one customer cannot see their activity in another
- MFA on or No MFA shows whether the person has set up multi-factor authentication
- Invited, not yet signed in marks a person added to the organisation (for example the owner of a new organisation) who has not yet signed in. Owners can use Resend to send them a fresh invitation link
Partner admins currently have the same permissions as any admin in your organisation, including managing members, invitations and API tokens. The labels above show who is external; they do not limit what they can do.
Removing Members
- Owners can remove members from Settings → Team. Another owner cannot be removed — change their role first
- Removed members lose access to the organisation on their next request, within 30 seconds, including any open dashboard sessions. AI clients they connected over MCP stop working for the organisation within 30 seconds, and their approvals of those clients are removed. If they are invited back, each AI client has to be approved again
Leaving QuantAssure: your data
When your organisation stops using QuantAssure, you can ask us for a copy of your data and for it to be deleted. Ask your account contact or email support. Both are done by QuantAssure staff, not from the dashboard.
- Export. You receive your findings, assets, policies, actions, campaigns, evidence, compliance statuses, audit logs, reports and members as JSON files, with CSV copies of findings, risks and actions and a manifest of row counts. Connector credentials, API key hashes and tokens are never included.
- Retention. Your data is deleted 30 days after you offboard, on request. Until then we keep it so you can ask for an export or come back.
- What deletion removes. Everything above, the searchable copy of your documents used for AI context, your connector registrations, AI client (MCP) approvals and tokens, your API keys, and the accounts of people who belonged only to your organisation. We check that nothing remains for your organisation afterwards and keep a record of the deletion (who, when and how many rows per table, never the contents).
- What you remove yourself. If you connected the GitHub App, uninstall it in your GitHub organisation settings.